Showcasing Tattoos in Cyberpunk 2077
Tattoos are an integral part of character customization in Cyberpunk 2077, and their visual impact can be enhanced through strategic positioning and lighting in the photo mode. To showcase tattoos, select outfits that expose the desired areas, allowing the intricate designs to take center stage. Experiment with lighting and color toning to accentuate the details and vibrancy of the tattoos. Consider using a black or dark background to create contrast and make the tattoos stand out even more. By carefully composing your shots and utilizing the available tools in the photo mode, you can create stunning visuals that highlight the unique aesthetics of the inked characters inhabiting Night City.
Cyberpunk 2077: Photo mode guide
Cyberpunk 2077‘s photo mode can be started by pressing “N” on your keyboard or both the left and right sticks on your Xbox gamepad. Once enabled, you’ll see various tabs.
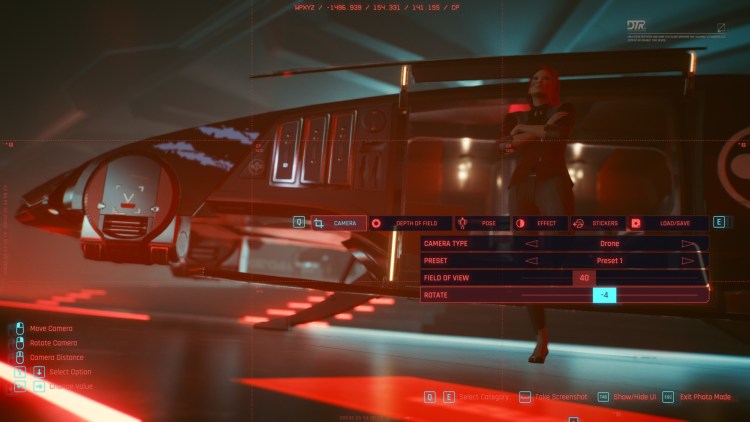
The first one for the camera allows you to select either first-person or drone (free cam) mode. You can also choose different presets (camera angles) and tweak the FOV.
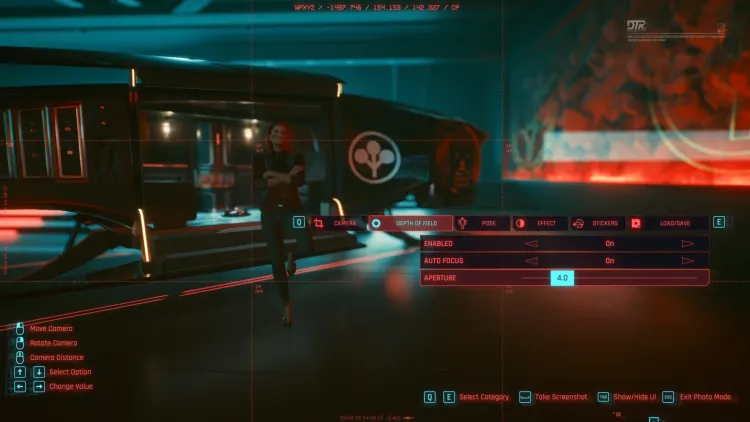
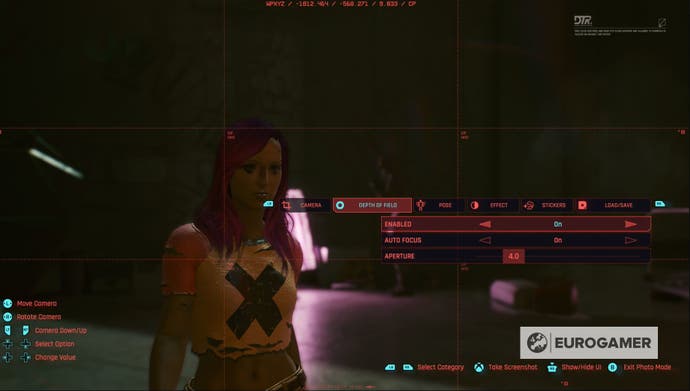
Next, the depth of field (DOF) tab lets you set the focus of the image. It’s useful when you want to focus on the background or distant objects/characters.
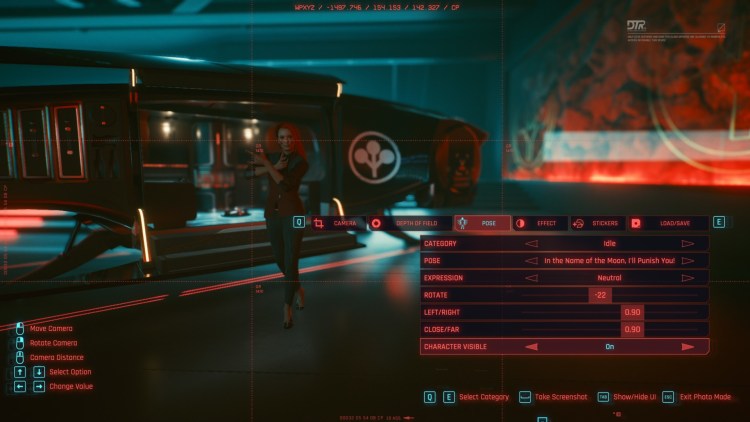
The pose panel, meanwhile, might be the highlight of Cyberpunk 2077‘s photo mode. You can choose from various poses (some are available as idle or action poses). Likewise, you can set your character’s facial expression, rotate them in place, move them around in the location, and more.
If you’re choosing an action-type pose, you might see options depending on V’s equipped weapons. For instance, there are poses when she’s got a katana, a shotgun, a heavy machine gun, and more.
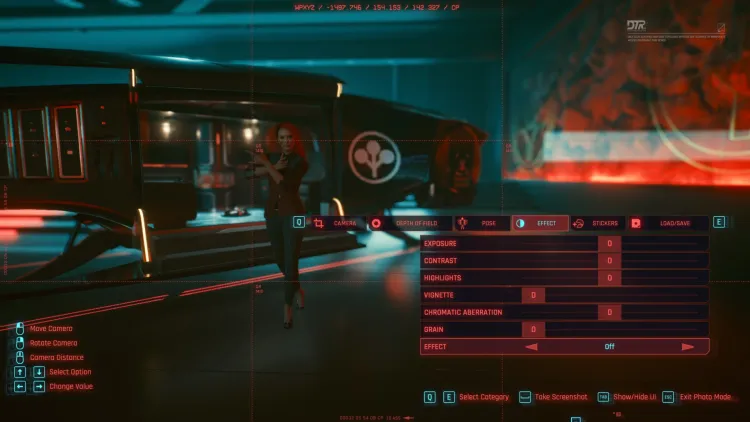
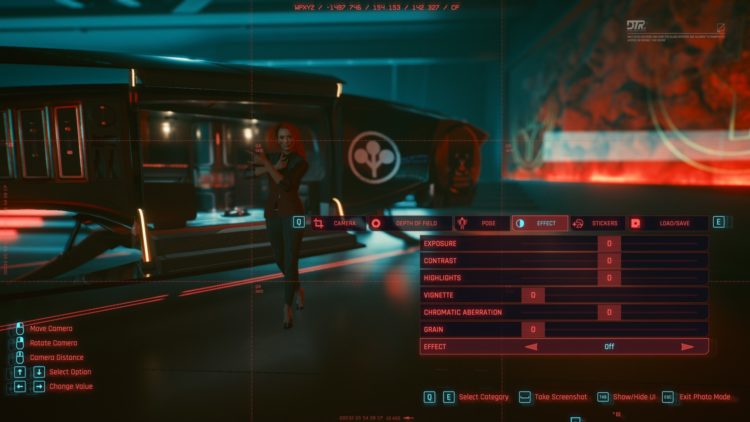
Meanwhile, the effects tab has numerous settings related to contrast, vignette, palette/hue effects, and more.
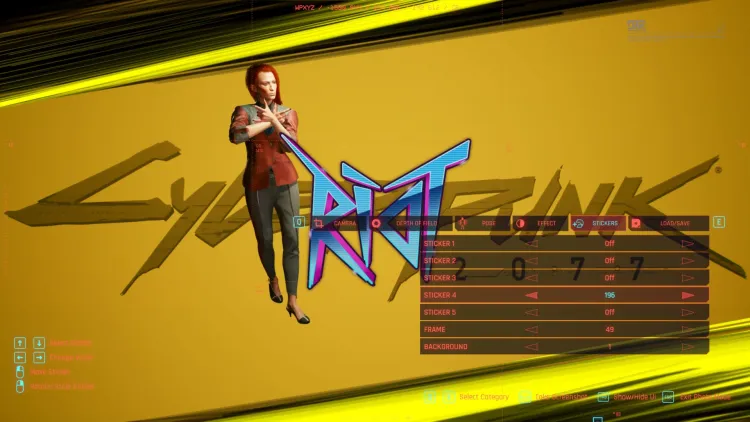
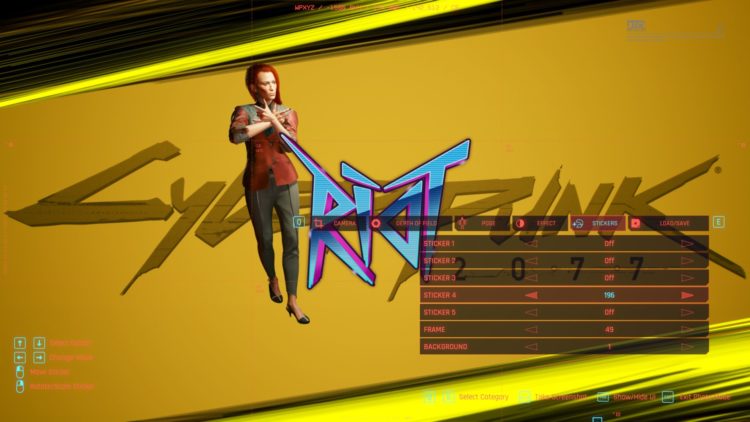
As for the stickers tab, it’s got five placements for different logos you’ll see while playing Cyberpunk 2077.
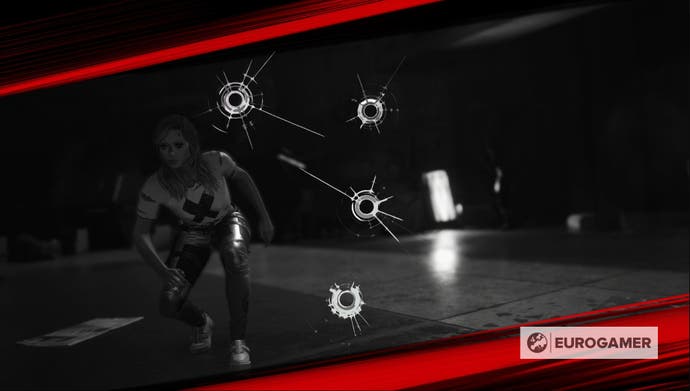
There are also frames and backgrounds that can be added if you want something that looks like a movie poster.
A few caveats
It’s possible to use Cyberpunk 2077‘s photo mode while roaming around or during a firefight. But, it does have a few limitations.
If your character is sitting down, actively interacting with a person or object, or in the middle of a cutscene/dialogue sequence, then only first-person view is available.
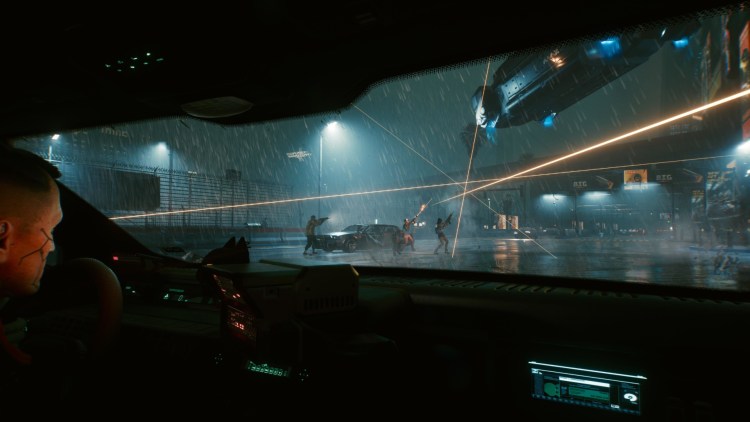
The first-person lock also applies when your character is a passenger in a vehicle. As such, the most you’d be able to do is move the camera around or add stickers, but most other options (like poses) would be unavailable.
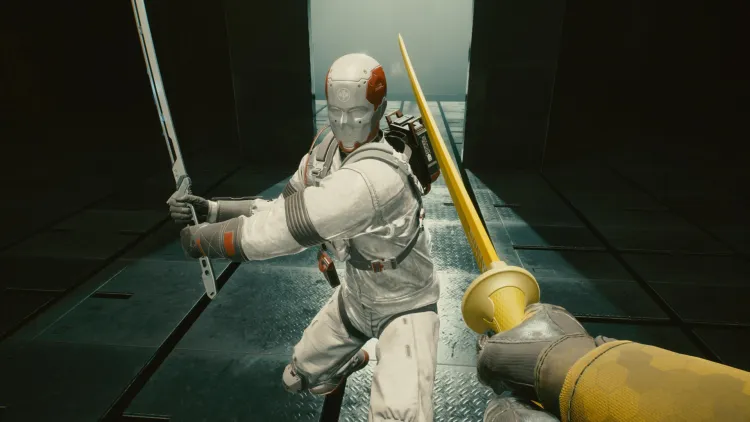
Likewise, there might be moments when some options are unavailable, such as during the VR-style tutorial.
The same goes when using Cyberware implants for your arms (i.e., Mantis Blades). If you use the drone camera, the models won’t appear even if you’re in the middle of an attack sequence.
Lastly, because Cyberpunk 2077 relies on a “glitched/hacked screen” effect even for photo mode transitions, you could encounter rare instances when NPCs themselves become glitched.
As mentioned in our technical review, you could spot some disembodied heads, overlapping textures, floating limbs, and more. Although, to be fair, I’ve rarely experienced these issues.
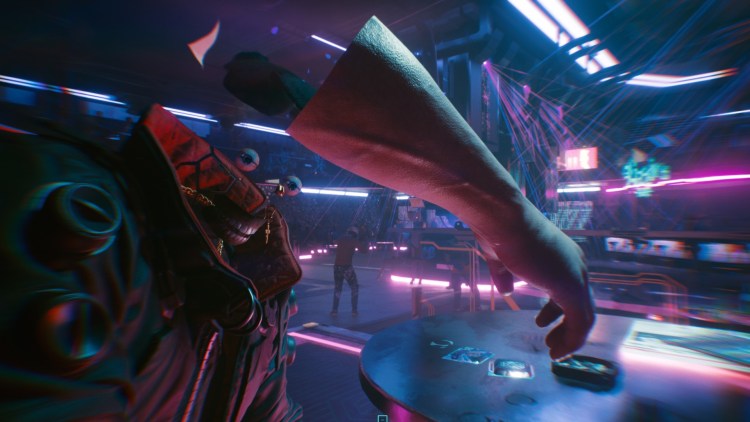
Cyberpunk 2077‘s photo mode image location
Anyway, if you’re happy with everything, press the spacebar to save a PNG image. By default, you should find Cyberpunk 2077‘s photo mode captures under My Computer/This PC -> Pictures -> Cyberpunk 2077.
If you’re using Steam and you press F12, you could still get a decent JPEG screenshot (just remember to hide the UI). However, the cursor might end up appearing. As such, it’s better to just press the spacebar to obtain the PNG file.
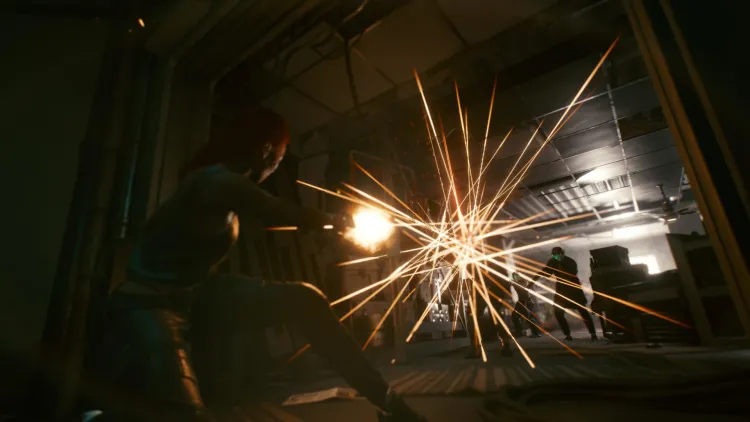
Overall, there’s a lot to enjoy when it comes to Cyberpunk 2077‘s photo mode feature. It’s fully built-in, and you have the means to make these images look as dynamic and sassy as you want them to be. You don’t even need mods or script extenders.
Night City is visually breathtaking and photo mode manages to capture moments that will leave you in awe. So, samurai, wake the eff up and take a selfie.
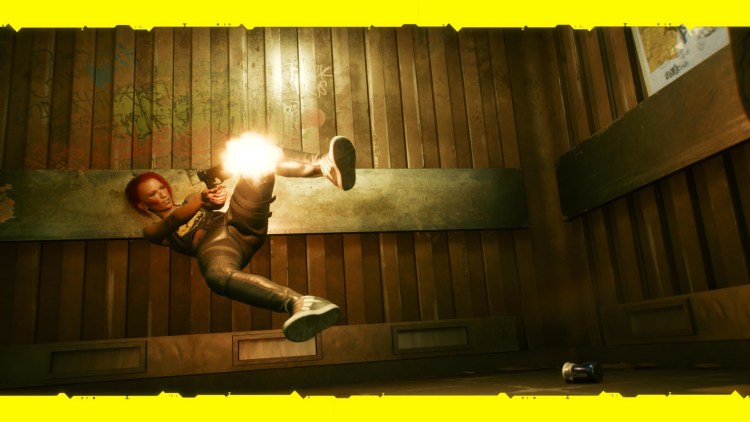
Cyberpunk 2077 is available via multiple storefronts such as GOG and Steam. For more information, check out our guides and features hub.
PC Invasion is supported by our audience. When you purchase through links on our site, we may earn a small affiliate commission. Learn more
Using Lighting and Effects in Photo Mode
Lighting is a vital element in photography, and Cyberpunk 2077’s photo mode offers various options to explore and manipulate lighting conditions. The NEON lights of Night City provide an excellent opportunity to experiment with creative lighting techniques. Use these lights to illuminate your subject and create unique color tones in your photographs. The Muzzle flash option adds artificial light to your shots, simulating the effect of a gunshot. This can add intensity and drama to your action shots. Additionally, the exposure, contrast, highlights, vignettes, chromatic aberration, and grain settings allow you to fine-tune the lighting and overall atmosphere of your photos.
Exploring Depth of Field in Photo Mode
Depth of field plays a crucial role in highlighting your subject and creating a visually captivating image. Cyberpunk 2077’s photo mode offers various depth of field options to help you achieve the desired effect. By enabling the depth of field function, you can control the focal point, focus distance, and aperture settings. Experiment with different combinations to blur the background and draw Attention to your subject. Keep in mind that a larger aperture number, such as 16.0, will result in a wider area of focus, while a smaller aperture number, like 1.2, will Create a more pronounced depth of field effect, with only the subject in focus.
Photo Mode settings in Cyberpunk 2077
If you want to take a photo in Cyberpunk 2077, you could simply open up Photo Mode and take a quick snap or you can explore the feature’s settings to create a very memorable picture.
There are five different sets of settings for you to experiment with in Photo Mode:
- Camera
- Depth of Field
- Pose
- Effect
- Stickers
Camera, as the name suggests, puts you in control of the actual camera taking the photo.
You can switch from first to third person point of view, change the rotation and the field of view. There’s also a number of pre-set camera settings, so that you can quickly snap a pic.
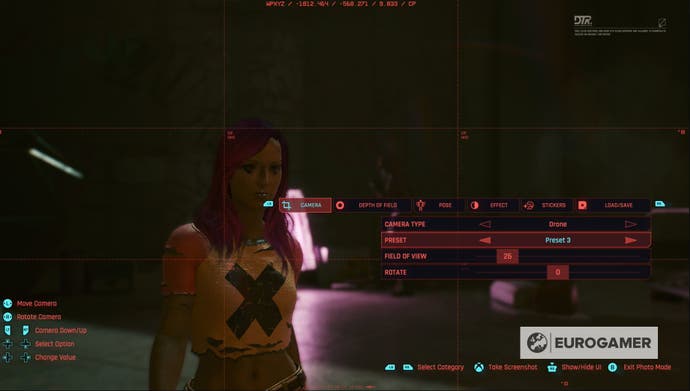
Depth of Field controls what the camera actually focuses upon, allowing you to blur either the foreground or background of a picture. This is great for highlighting specific parts or characters within the photo.
Pose allows you to change how V stands in the photo and, thanks to the ‘Character Visible’ setting, whether they appear in the photo at all.
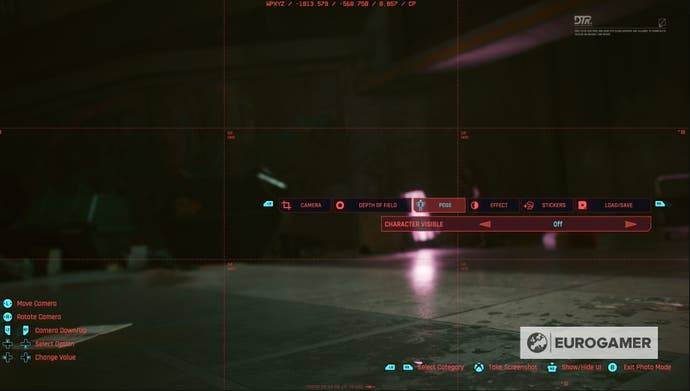
Vanishing V.
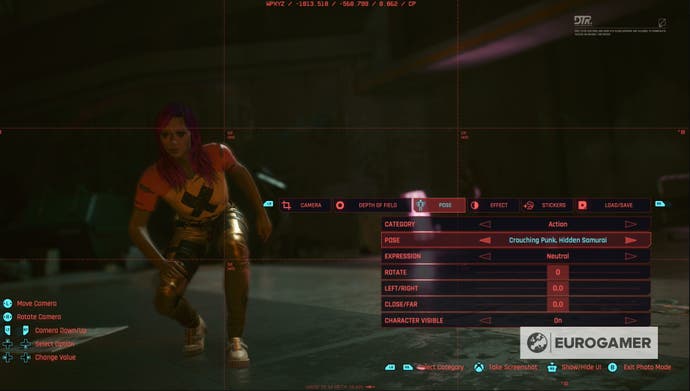
There are a variety of different poses — divided into idle and action — that you can set V into and you also have the ability to change their facial expression too.
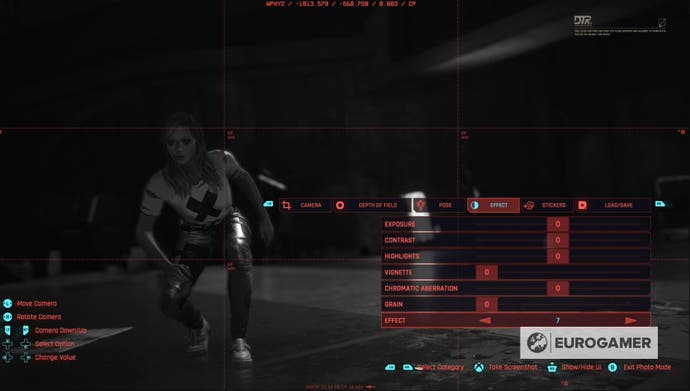
Effect changes the actual colour of the photo by changing the exposure levels, contrast, adding or removing highlights, among others. You can also add in set effects, such as changing the photo to black and white.
Finally, Stickers, allows you to add up to five different stickers to your photo and, with 196 different stickers, you might find this one taking up a lot of time. This is also the setting that will allow you to put a set backdrop to your photo or add a frame.
Thanks to the Load / Save option at the end of the Photo Mode settings menu, you don’t have to lose your preferred camera settings. Instead, you can save up to three different sets of Photo Mode settings and load them whenever you like.
Aside from all of these settings, you can also manually move and rotate the camera however you like.
Good luck in Night City!
Basic Functions of the Photo Mode
To access the photo mode in Cyberpunk 2077, simply press the L3 and R3 buttons simultaneously, and the action will freeze, giving you full control over the camera. The left and right sticks allow you to move and rotate the camera, enabling precise framing of your subject. To adjust the camera Height, use the L2 and R2 buttons to lift or lower it. The D-pad can be used to navigate through different options and values on the menu, and pressing R3 hides the user interface for a clean shot. When you are ready to capture your masterpiece, simply press the Share button, and to exit the photo mode, press the Circle button.
Frequently Asked Questions about Cyberpunk 2077’s Photo Mode
Q: Any tips for taking action shots in Cyberpunk?
A: Action shots in Cyberpunk 2077 can be visually engaging and exhilarating. To capture compelling action shots, utilize the muzzle flash effect, incorporate dynamic poses, and experiment with different camera angles and movements. Adjust the chromatic aberration, contrast, and exposure settings to add intensity and impact to the image.
Q: How can I make my character’s tattoos stand out in photos?
A: To showcase tattoos in photos, select outfits that expose the tattooed areas. Experiment with lighting and color toning to highlight the details and vibrancy of the tattoos. Utilize a black or dark background to create contrast, making the tattoos pop.
Q: Where are the best locations to take beauty shots in Cyberpunk 2077?
A: Nightclubs and bars offer a visually captivating backdrop for beauty shots with their decadent lighting and glamorous environments. Explore these locations and experiment with different lighting setups, poses, and expressions to create stunning beauty shots that showcase your character’s unique style.
How to access Photo Mode in Cyberpunk 2077
Before you can start using Photo Mode in Cyberpunk 2077, you need to know how to access it and, thankfully, that’s very easy to do.
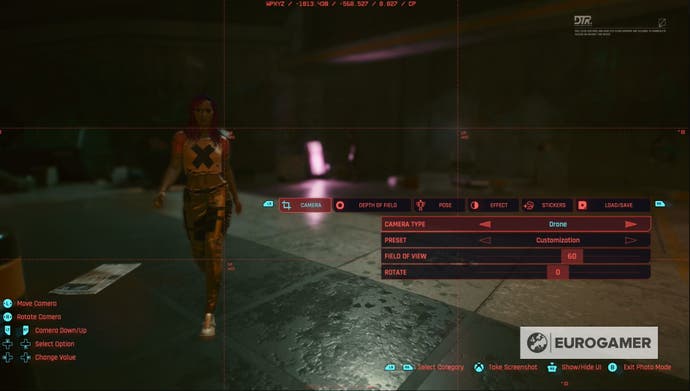
On the PS4, PS5, Xbox One, Xbox Series X, Series S or when playing with a controller on PC, you simply need to press both L3 and R3 (the two analogue sticks) down at the same time.
If you’re playing Cyberpunk 2077 on the PC, however, you can open Photo Mode by pressing the N key.
If you keep accessing Photo Mode by accident as you play, it is possible to turn the mode off by visiting the main Cyberpunk 2077 settings and, in the miscellaneous section of the Gameplay settings, you’ll be able to turn Photo Mode on and off.
Lifepath Choice
We know that Lifepaths in Cyberpunk 2077 don’t provide significant unique opportunities, but if you want to stay true to David’s character from Edgerunners, you have to play with a Streetkid origin.
David is a typical kid from Santo Domingo. There’s hardly any better option than Streetkid to play if role-play is your top priority. Plus, you will see unique dialogue lines and some mini events here and there that differ compared to other lifepaths.
If you have already played that lifepath and want to explore other options, neither Corpo nor Nomad will break the David Martinez Build you will be going for. It’s a matter of personal preference and depends on how much of a role-player you want to be.
You could argue that Corpo is a viable path as well because David has been in Arasaka Academy up until we meet him in the show when he’s 17 years old, but the way Corpo is represented in the game, I think it’s a very lose fit at best. That’s why I recommend Streetkid.
Creating Poses and Expressions in Photo Mode
The ability to pose your character allows for more dynamic and expressive shots in Cyberpunk 2077’s photo mode. You have the option to choose between idle and action categories, each representing different positions and movements. Browse through the available poses to find the ones that best convey the desired emotion or action. Experiment with different facial expressions to add depth and personality to your character. The «look at the camera» option can create intimate portraits, while adjusting the rotation, left, right, close, and far settings enables precise positioning within the frame.
Девушки ~ Girls
Я старалась делать Ви с минимальным количеством макияжа, почти без пирсинга на лице и без татуировок, так как эти параметры каждый волен настраивать на свой вкус. Также цвет макияжа глаз я не указывала из-за возможности его легко изменить, и внешность Ви от этого сильно не пострадает.
Прически и цвет волос подбирались персонально для каждого лица: при изменении прически Ви может потерять свой уникальный стиль и облик)) Поэтому я рекомендую использовать Ви вместе с представленными прическами.
Фотографии кликабельны для увеличения.
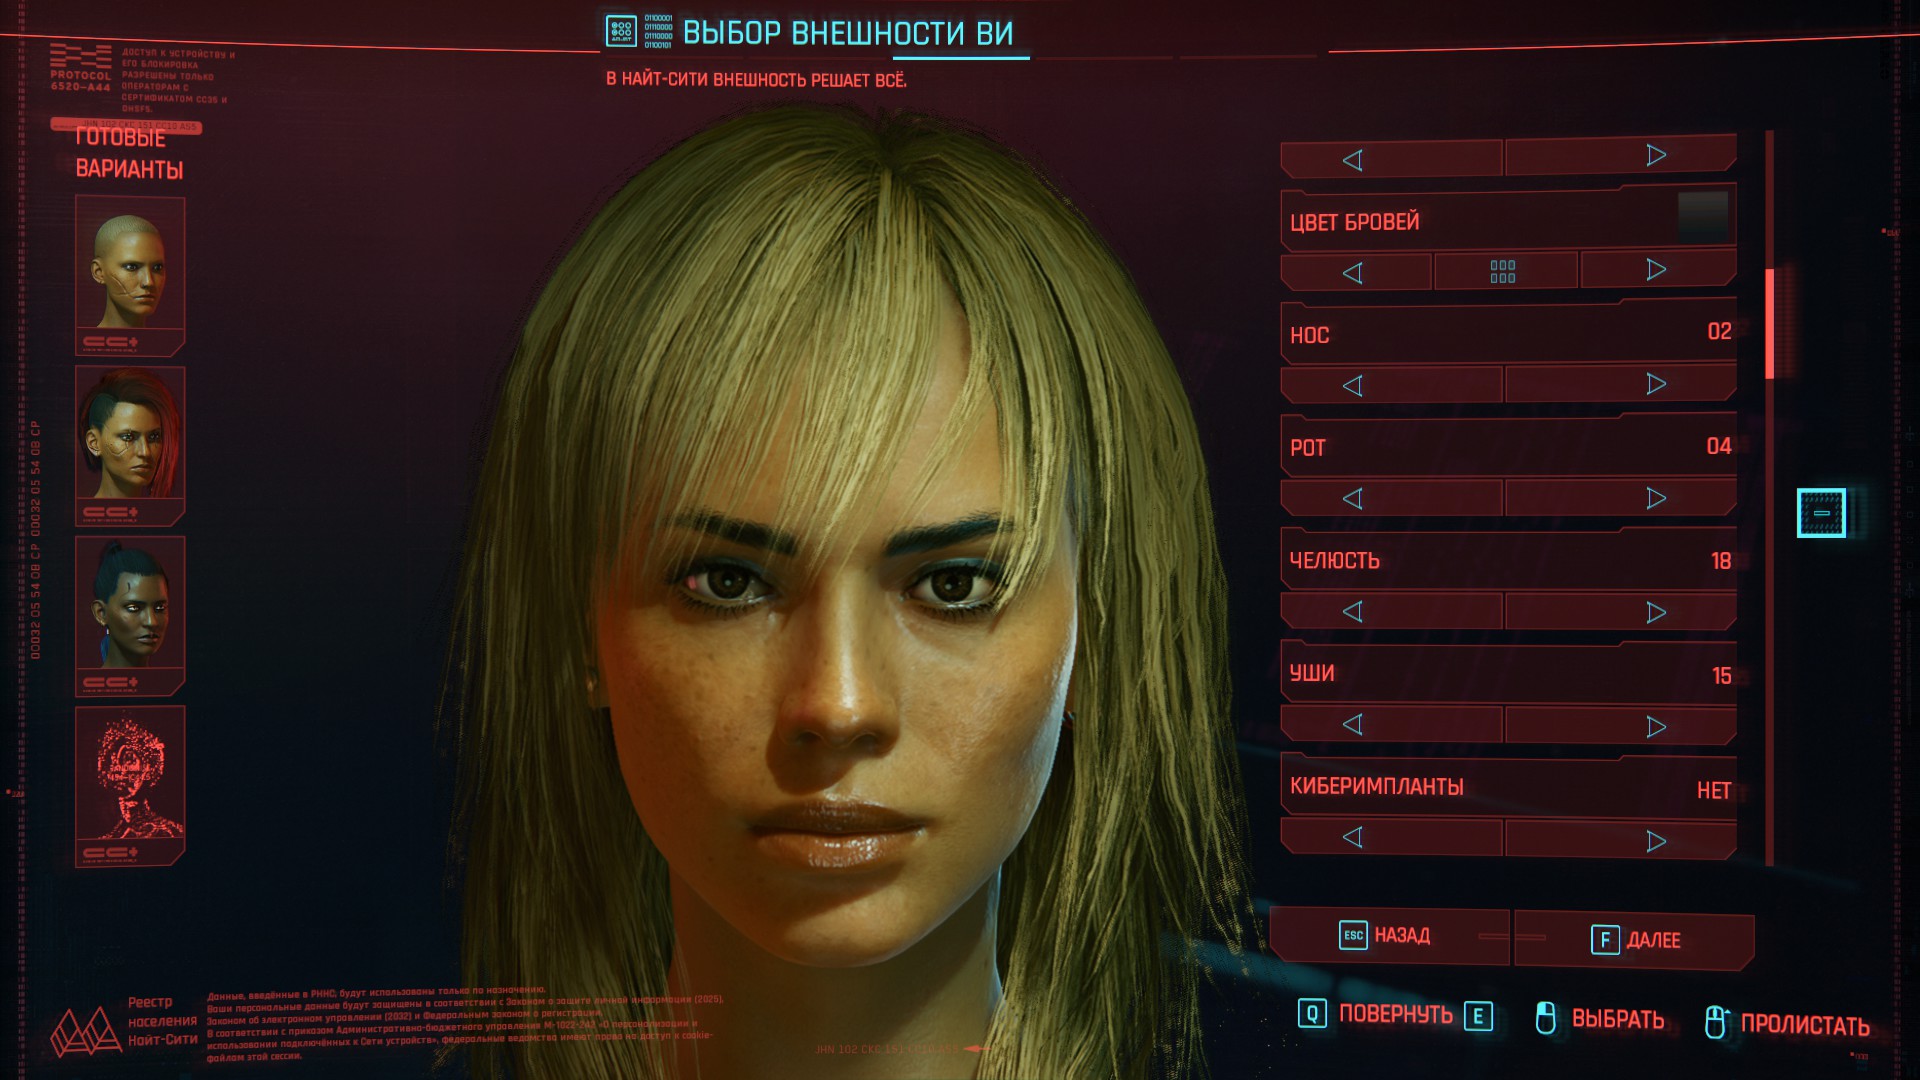 Дерзкая блондинка Ви.
- цвет кожи / skin color 04
- тип кожи / skin type 01
- глаза / eyes 10
- брови / eyebrows 05
- нос / nose 02
- рот / lips 04
- челюсть / face shape 18
- уши / ears 15
- пирсинг / piercing 11
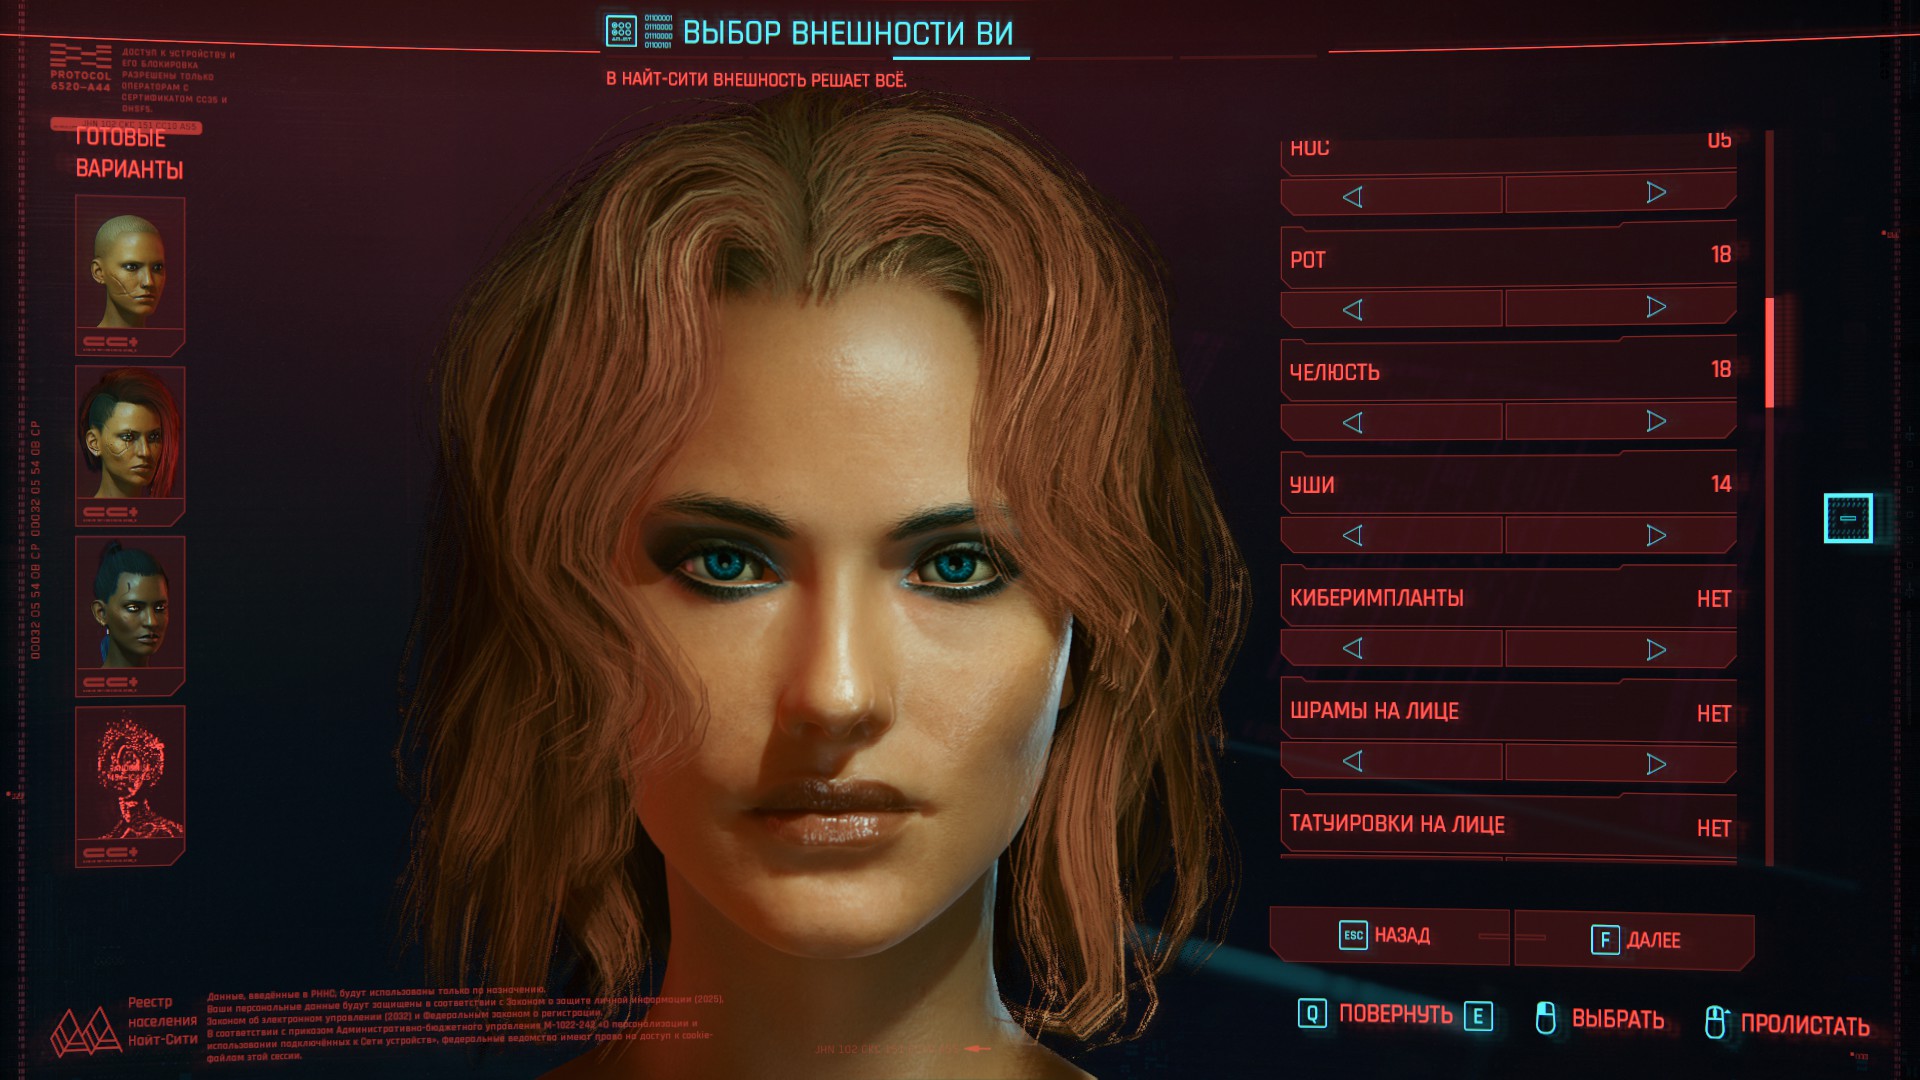 Ви, внешностью похожая на актрису Кэмерон Диас.
- цвет кожи / skin color 06
- тип кожи / skin type 04
- глаза / eyes 17
- брови / eyebrows 07
- нос / nose 05
- рот / lips 18
- челюсть / face shape 18
- уши / ears 15
- пирсинг / piercing 11
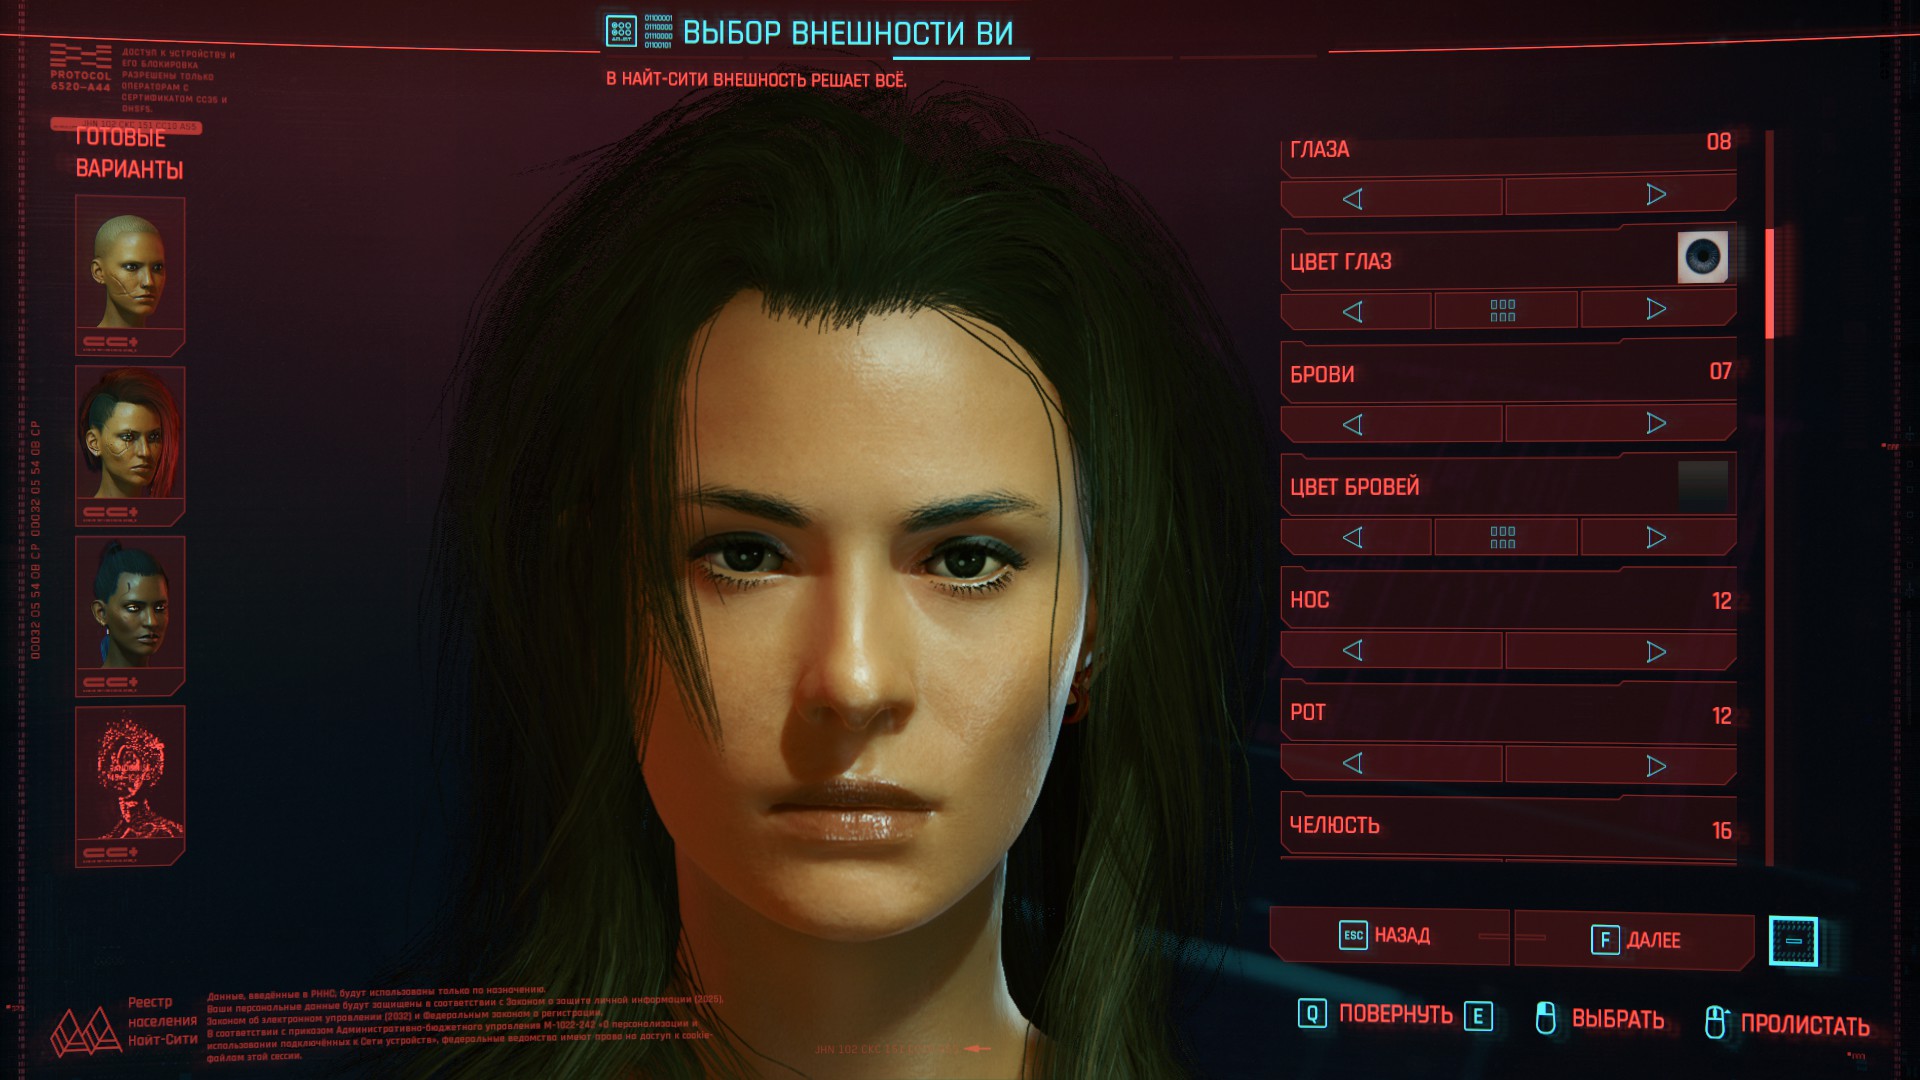 Девушка, похожая на Мию из игр Resident Evil 7 и 8 Village
- цвет кожи / skin color 05
- тип кожи / skin type 04
- глаза / eyes 08
- брови / eyebrows 07
- нос / nose 12
- рот / lips 12
- челюсть / face shape 16
- уши / ears 14
- пирсинг / piercing 11
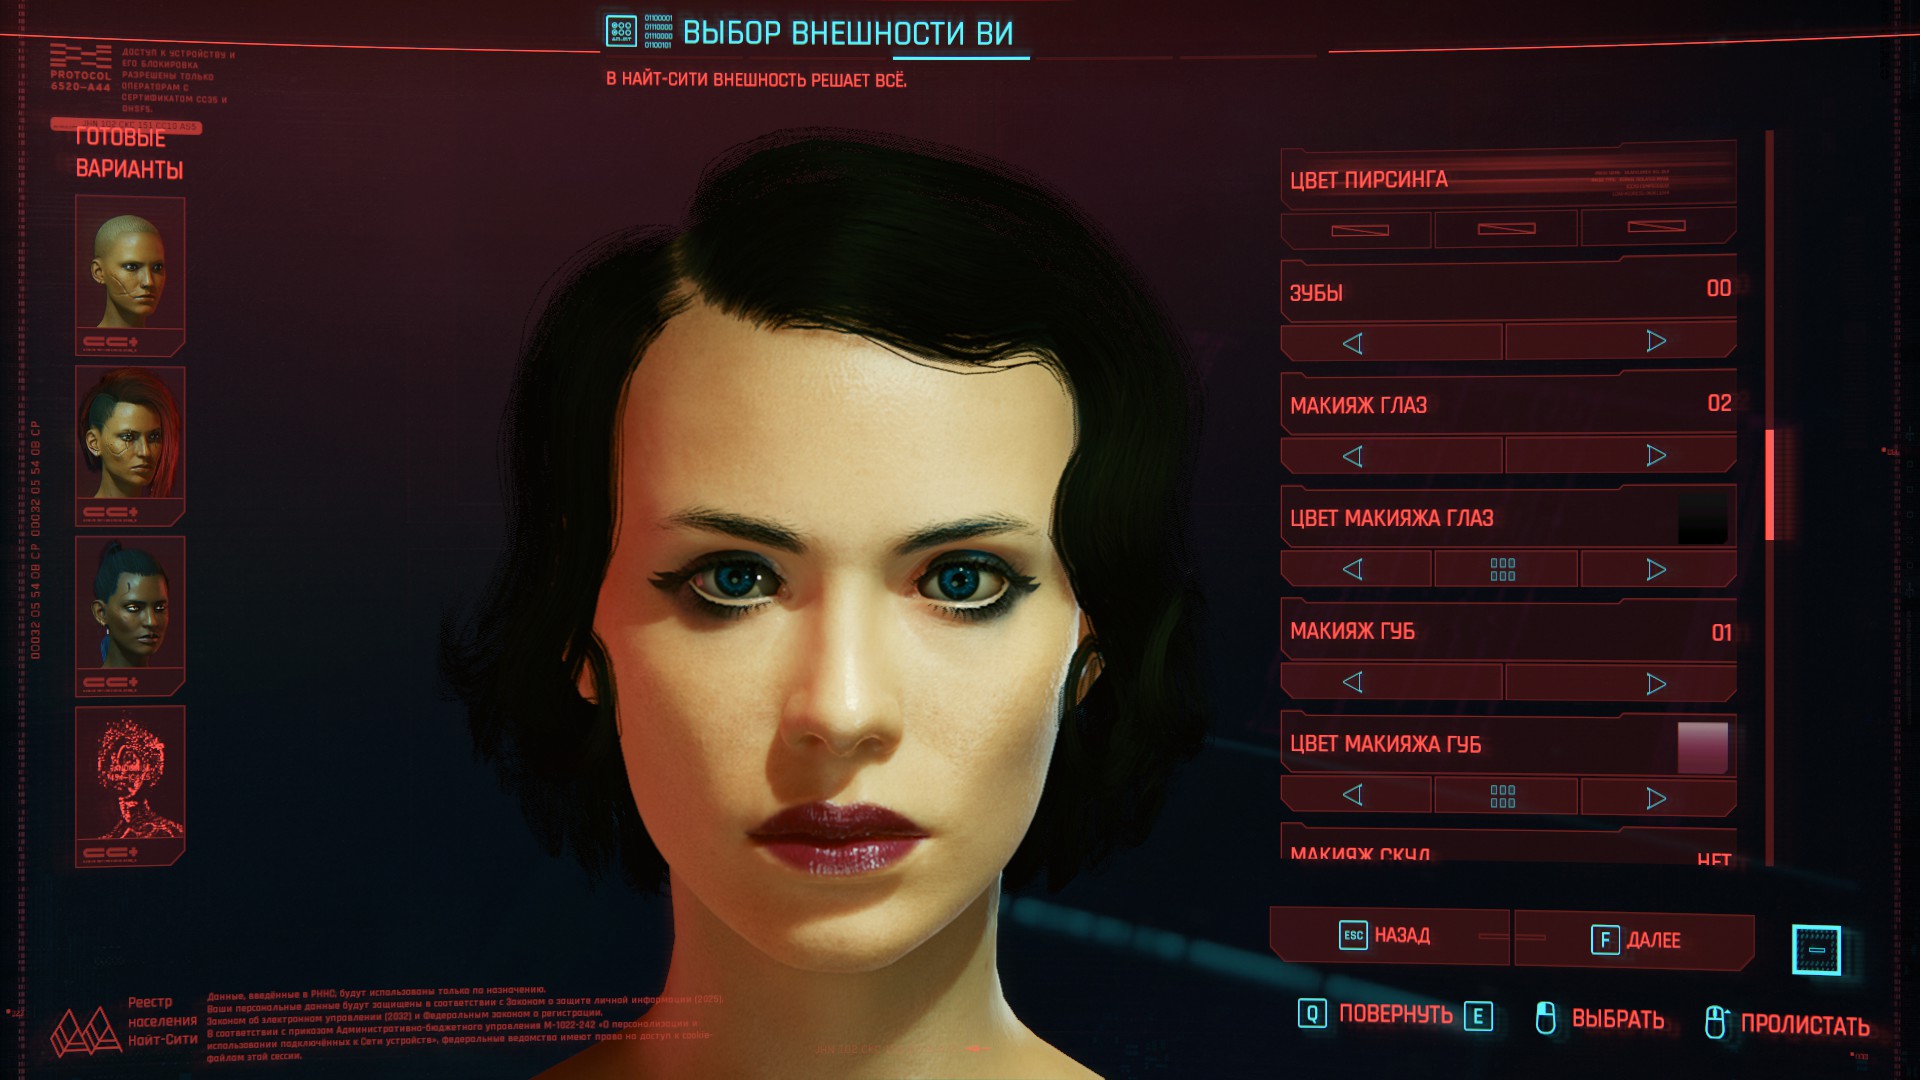 Девушка, похожая на актрису Нуми Рапас.
- цвет кожи / skin color 02
- тип кожи / skin type 04
- глаза / eyes 12
- брови / eyebrows 07
- нос / nose 02
- рот / lips 10
- челюсть / face shape 06
- уши / ears 14
- пирсинг / piercing 11
- макияж глаз / eyes’ makeup 02
- макияж губ / lipstick 01
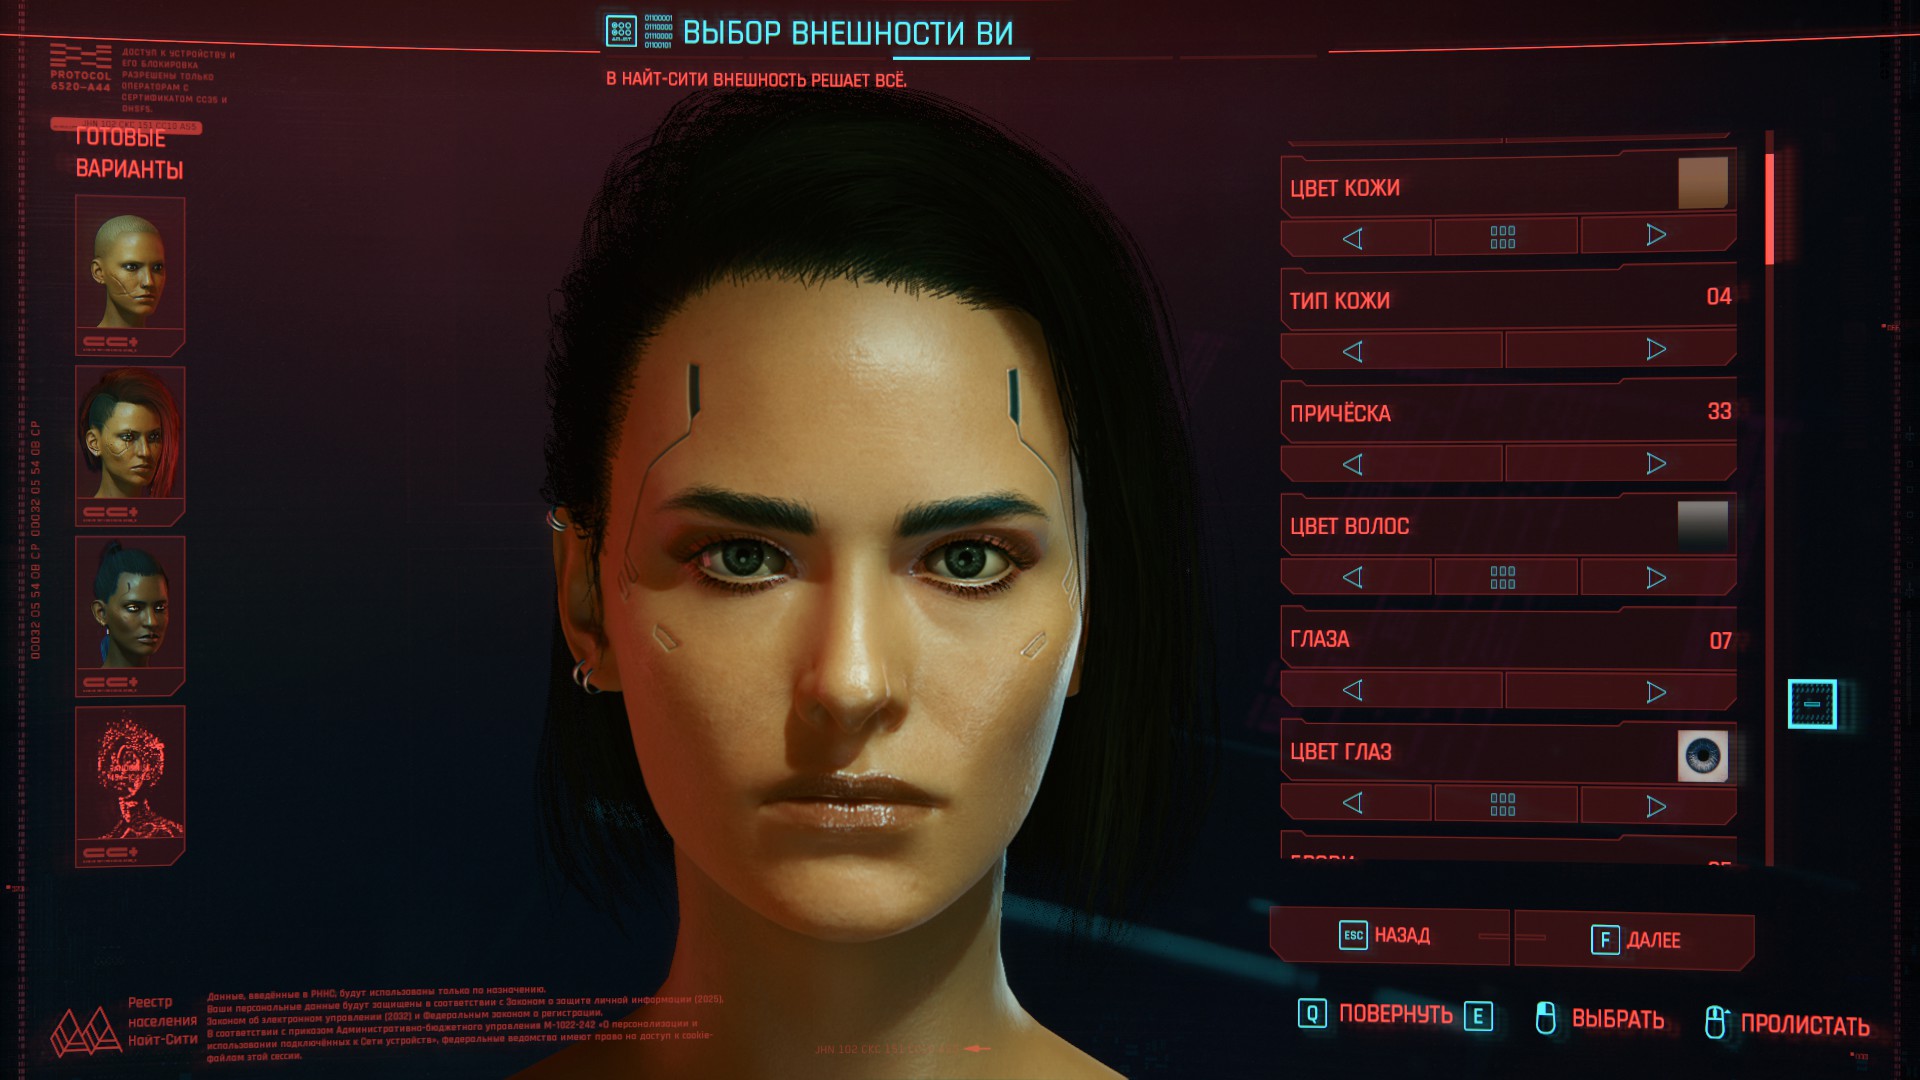 Девушка, похожая на актрису Деми Мур.
- цвет кожи / skin color 05
- тип кожи / skin type 04
- глаза / eyes 07
- брови / eyebrows 05
- нос / nose 14
- рот / lips 15
- челюсть / face shape 16
- уши / ears 14
- пирсинг / piercing 12
- макияж глаз / eyes’ makeup 07
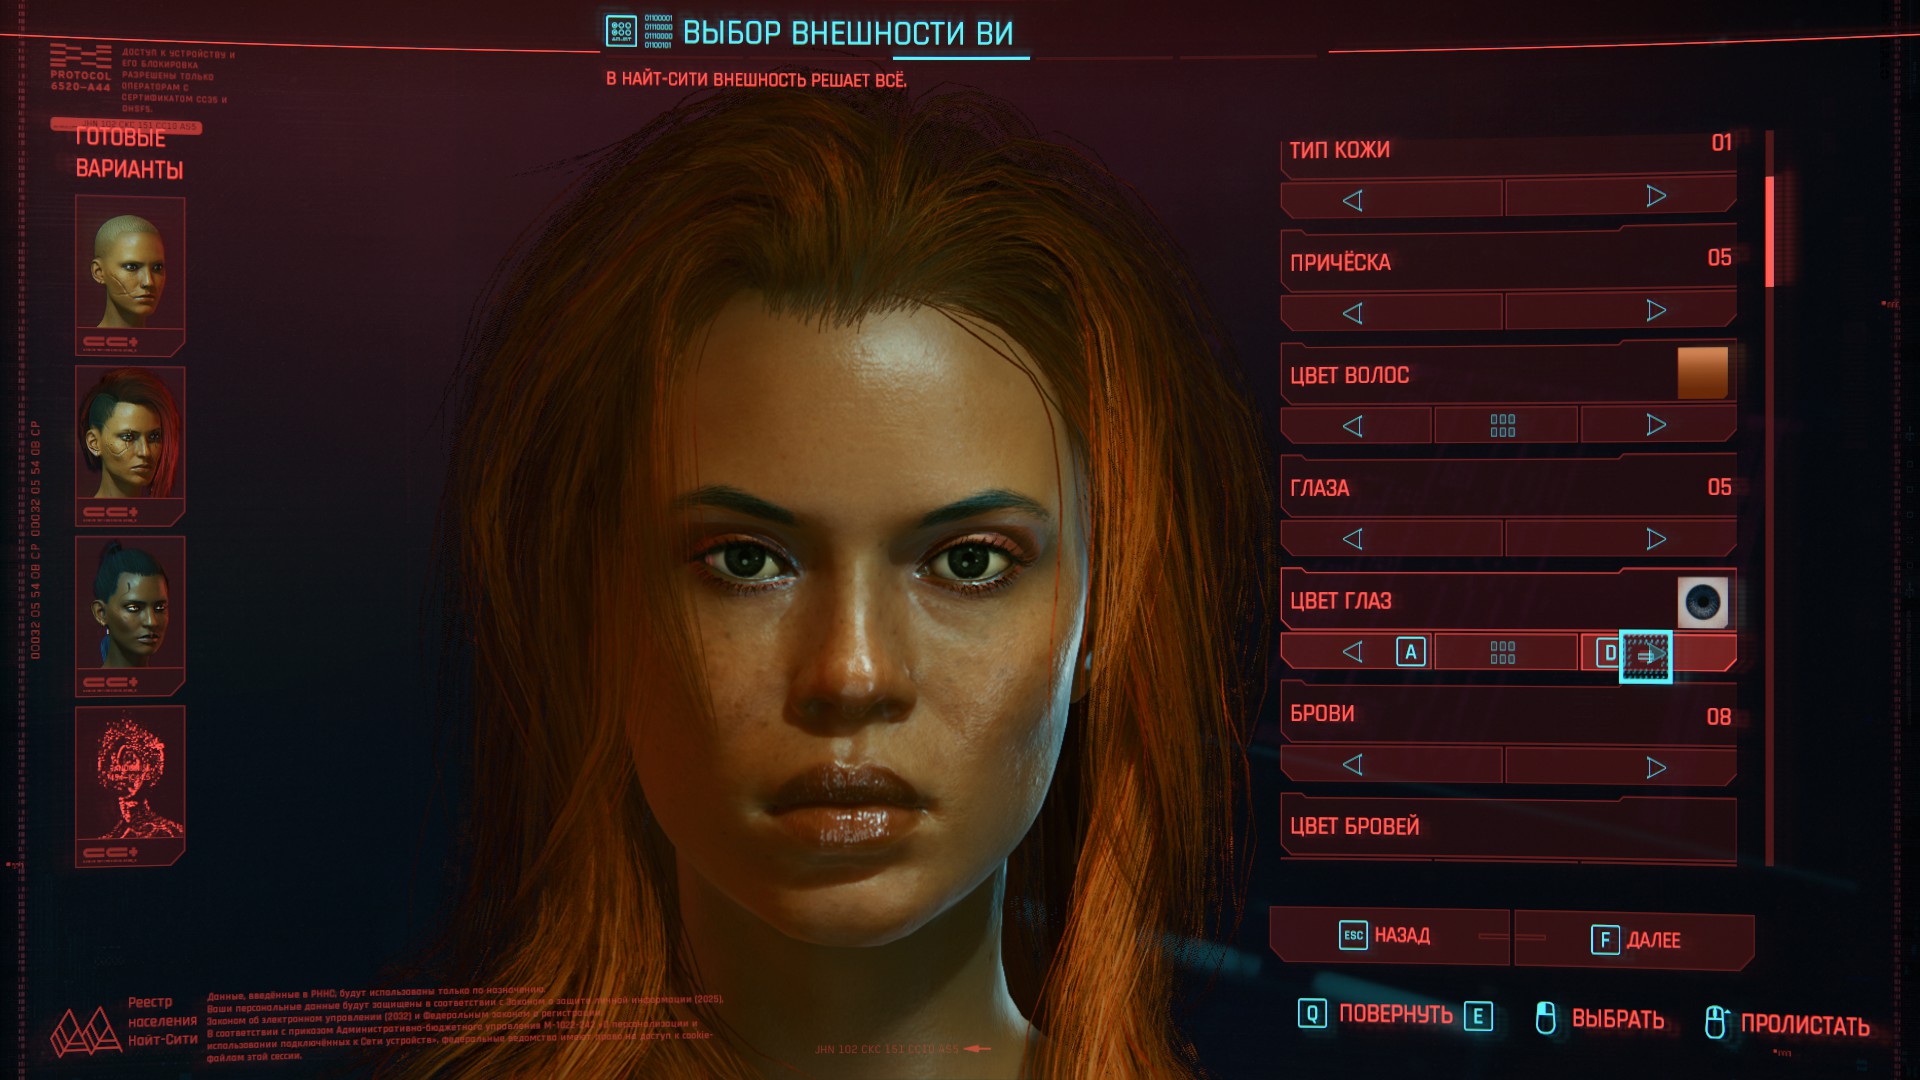 Ви-мулатка.
- цвет кожи / skin color 10
- тип кожи / skin type 01
- глаза / eyes 05
- брови / eyebrows 08
- нос / nose 18
- рот / lips 19
- челюсть / face shape 20
- уши / ears 14
- макияж глаз / eyes’ makeup 07
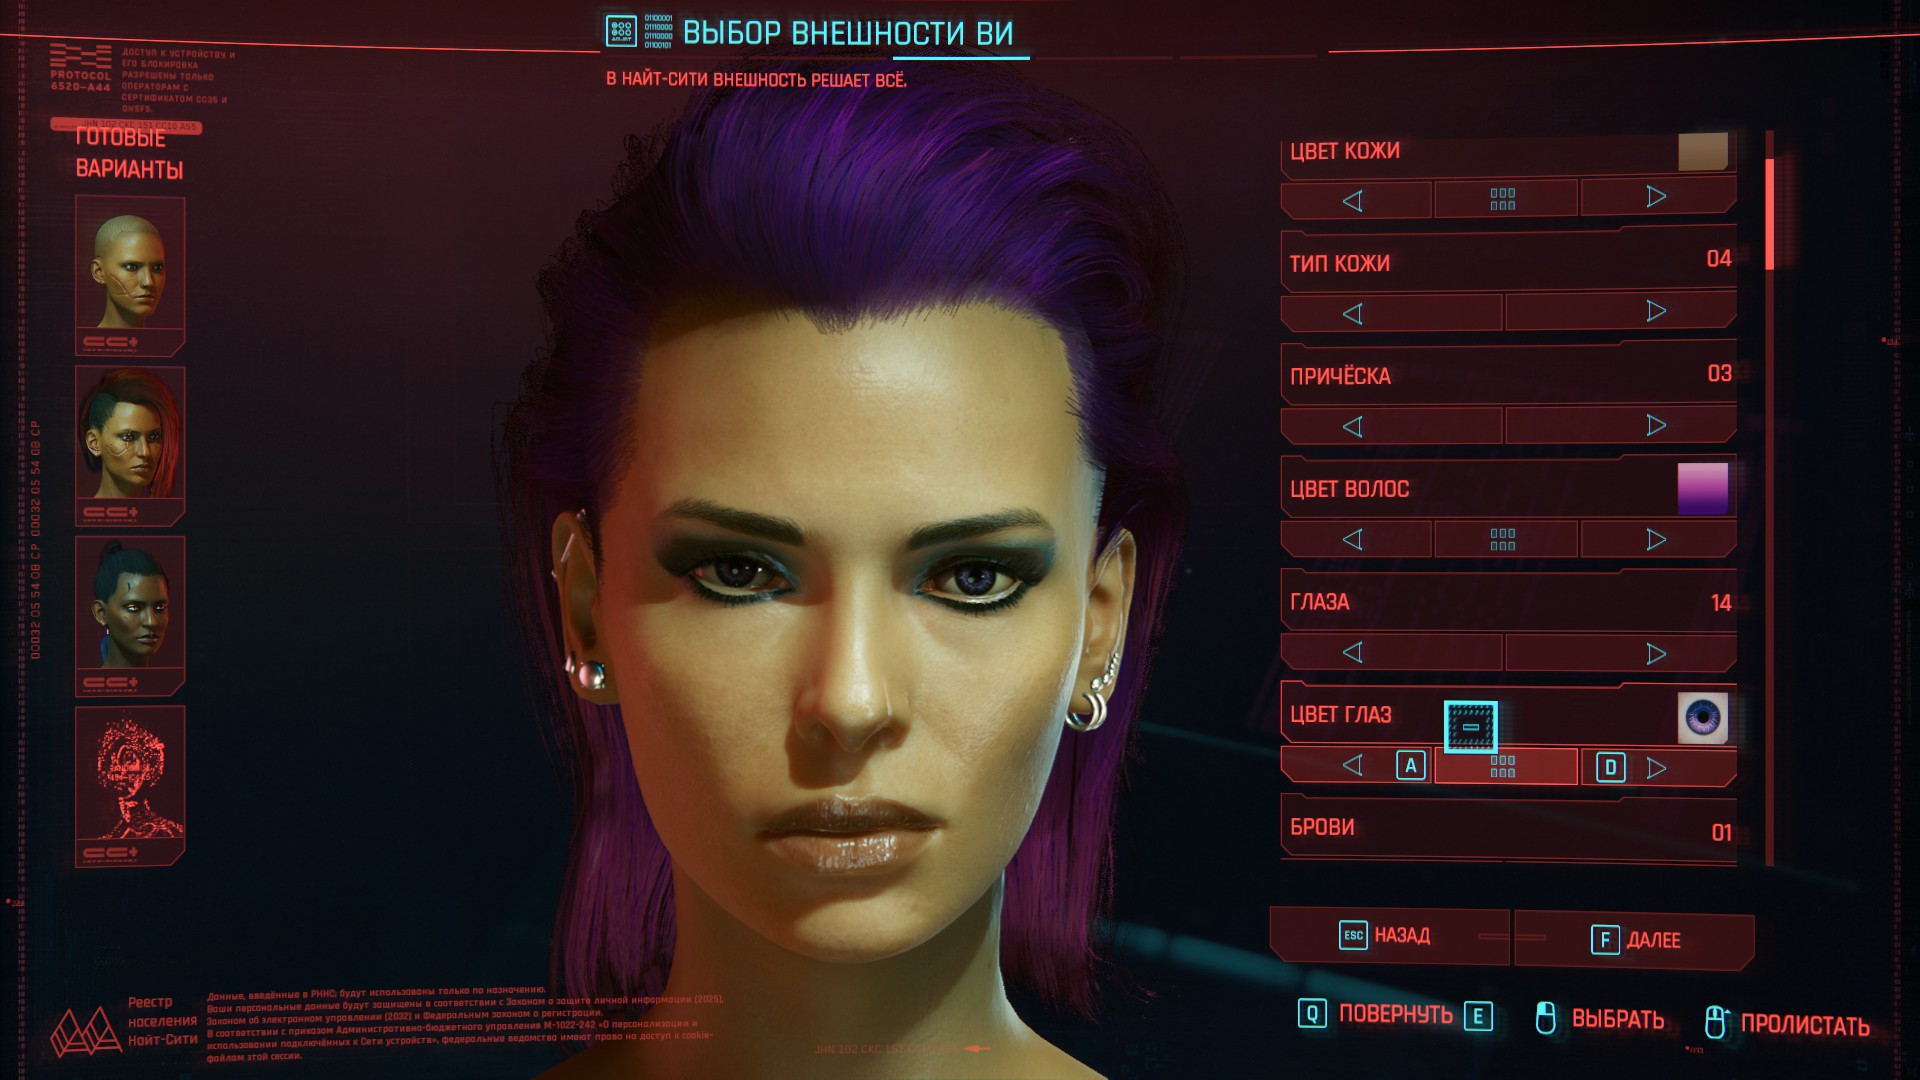 Таинственная незнакомка Ви.
- цвет кожи / skin color 03
- тип кожи / skin type 04
- глаза / eyes 14
- брови / eyebrows 01
- нос / nose 14
- рот / lips 01
- челюсть / face shape 16
- уши / ears 15
- пирсинг / piercing 11
- макияж глаз / eyes’ makeup 07
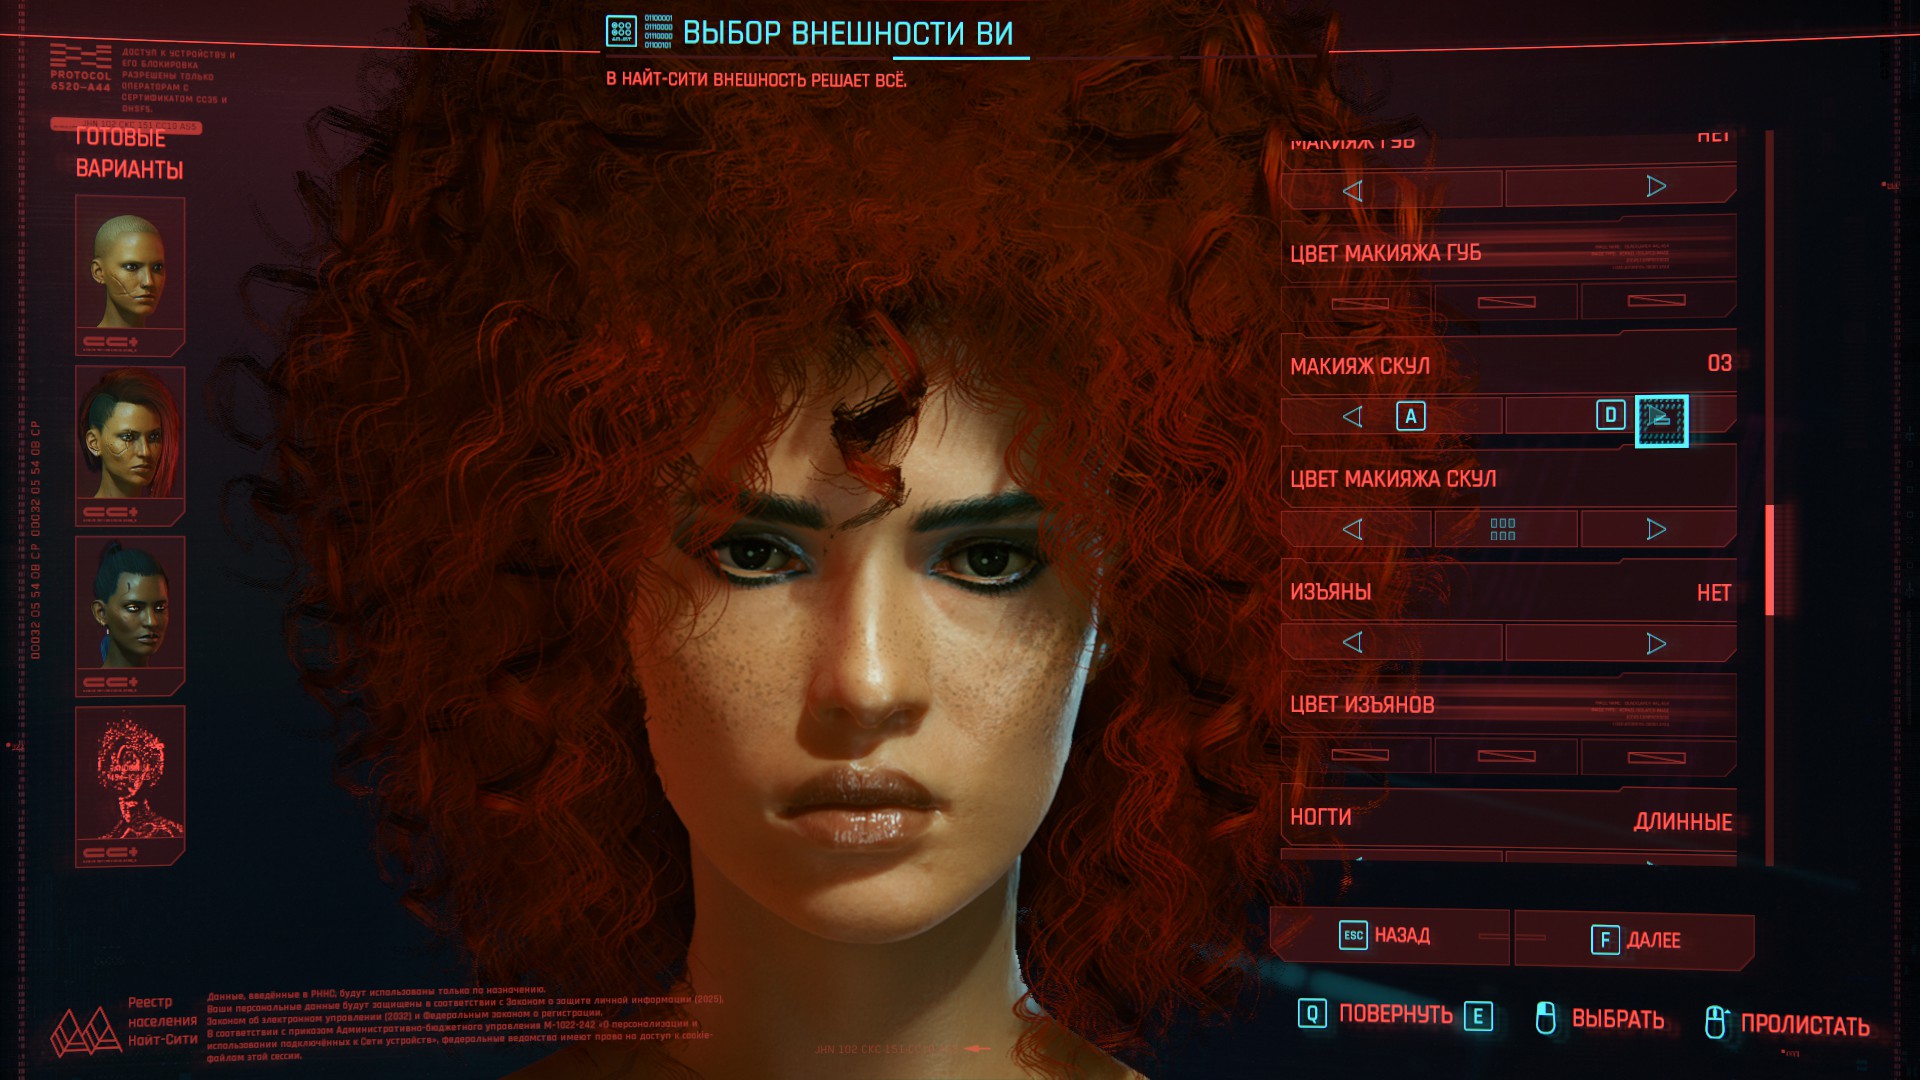 Рыжая бестия Ви.
- цвет кожи / skin color 06
- тип кожи / skin type 04
- глаза / eyes 14
- брови / eyebrows 05
- нос / nose 12
- рот / lips 19
- челюсть / face shape 17
- уши / ears 14
- пирсинг / piercing 11
- макияж глаз / eyes’ makeup 07
- макияж скул / face’s makeup 03
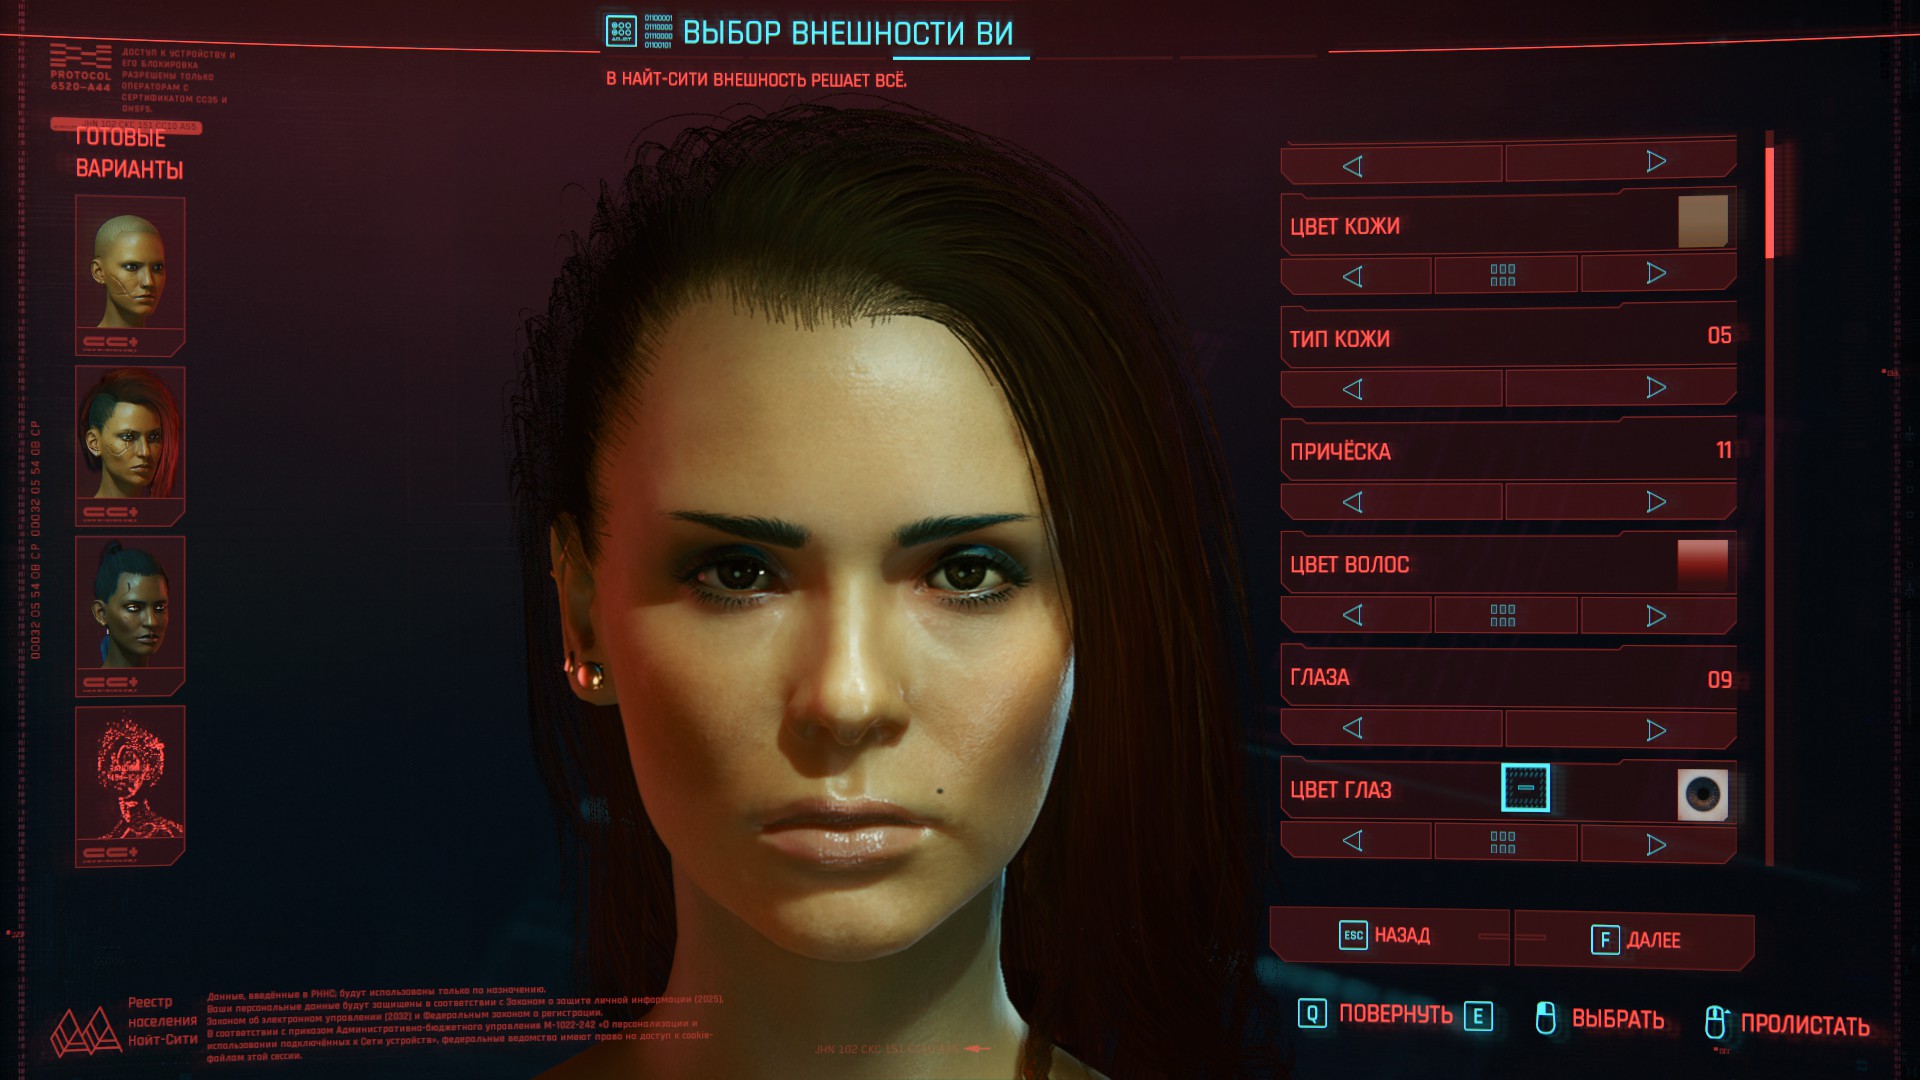 Ви, немного похожая на актрису Софию Буш.
- цвет кожи / skin color 03
- тип кожи / skin type 05
- глаза / eyes 09
- брови / eyebrows 02
- нос / nose 18
- рот / lips 06
- челюсть / face shape 14
- уши / ears 15
- пирсинг / piercing 11
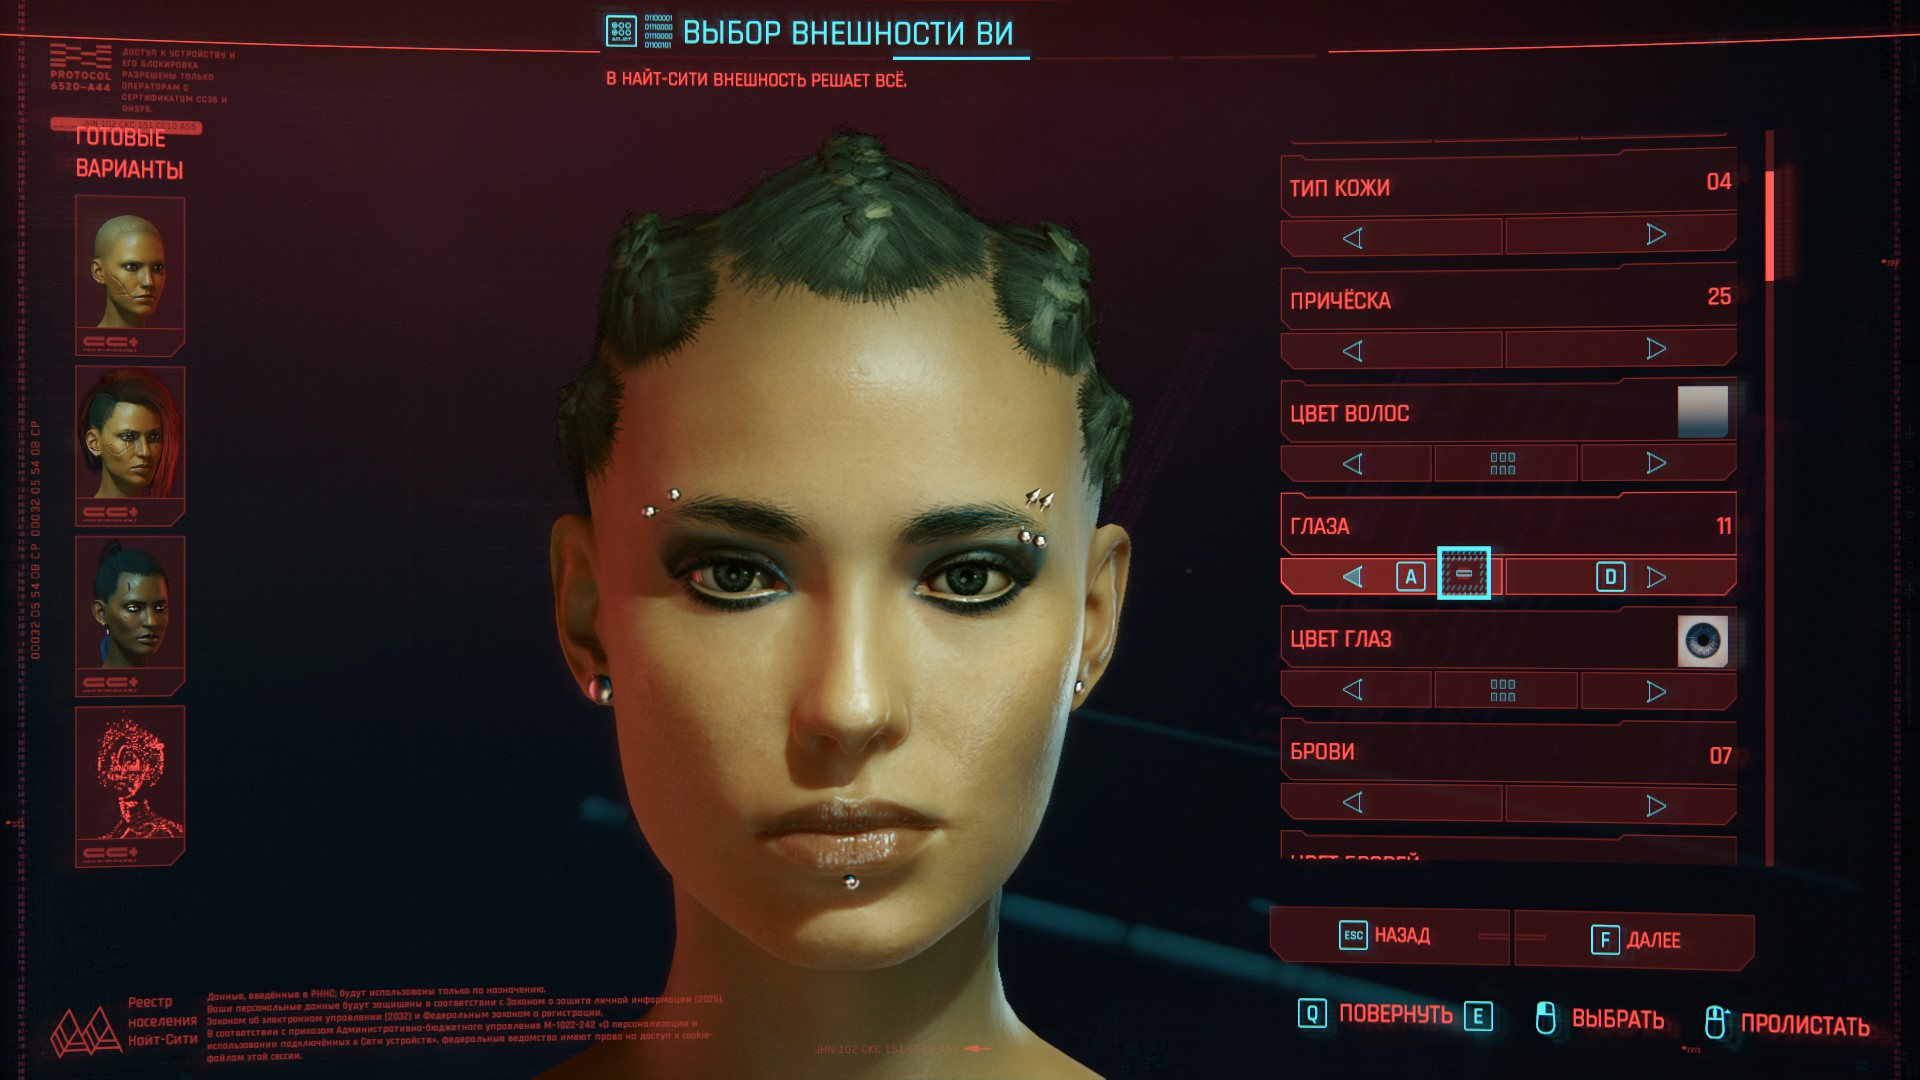 Футуристичная стильная Ви.
- цвет кожи / skin color 03
- тип кожи / skin type 04
- глаза / eyes 11
- брови / eyebrows 07
- нос / nose 05
- рот / lips 01
- челюсть / face shape 13
- уши / ears 15
- пирсинг / piercing 03
- макияж глаз / eyes’ makeup 07
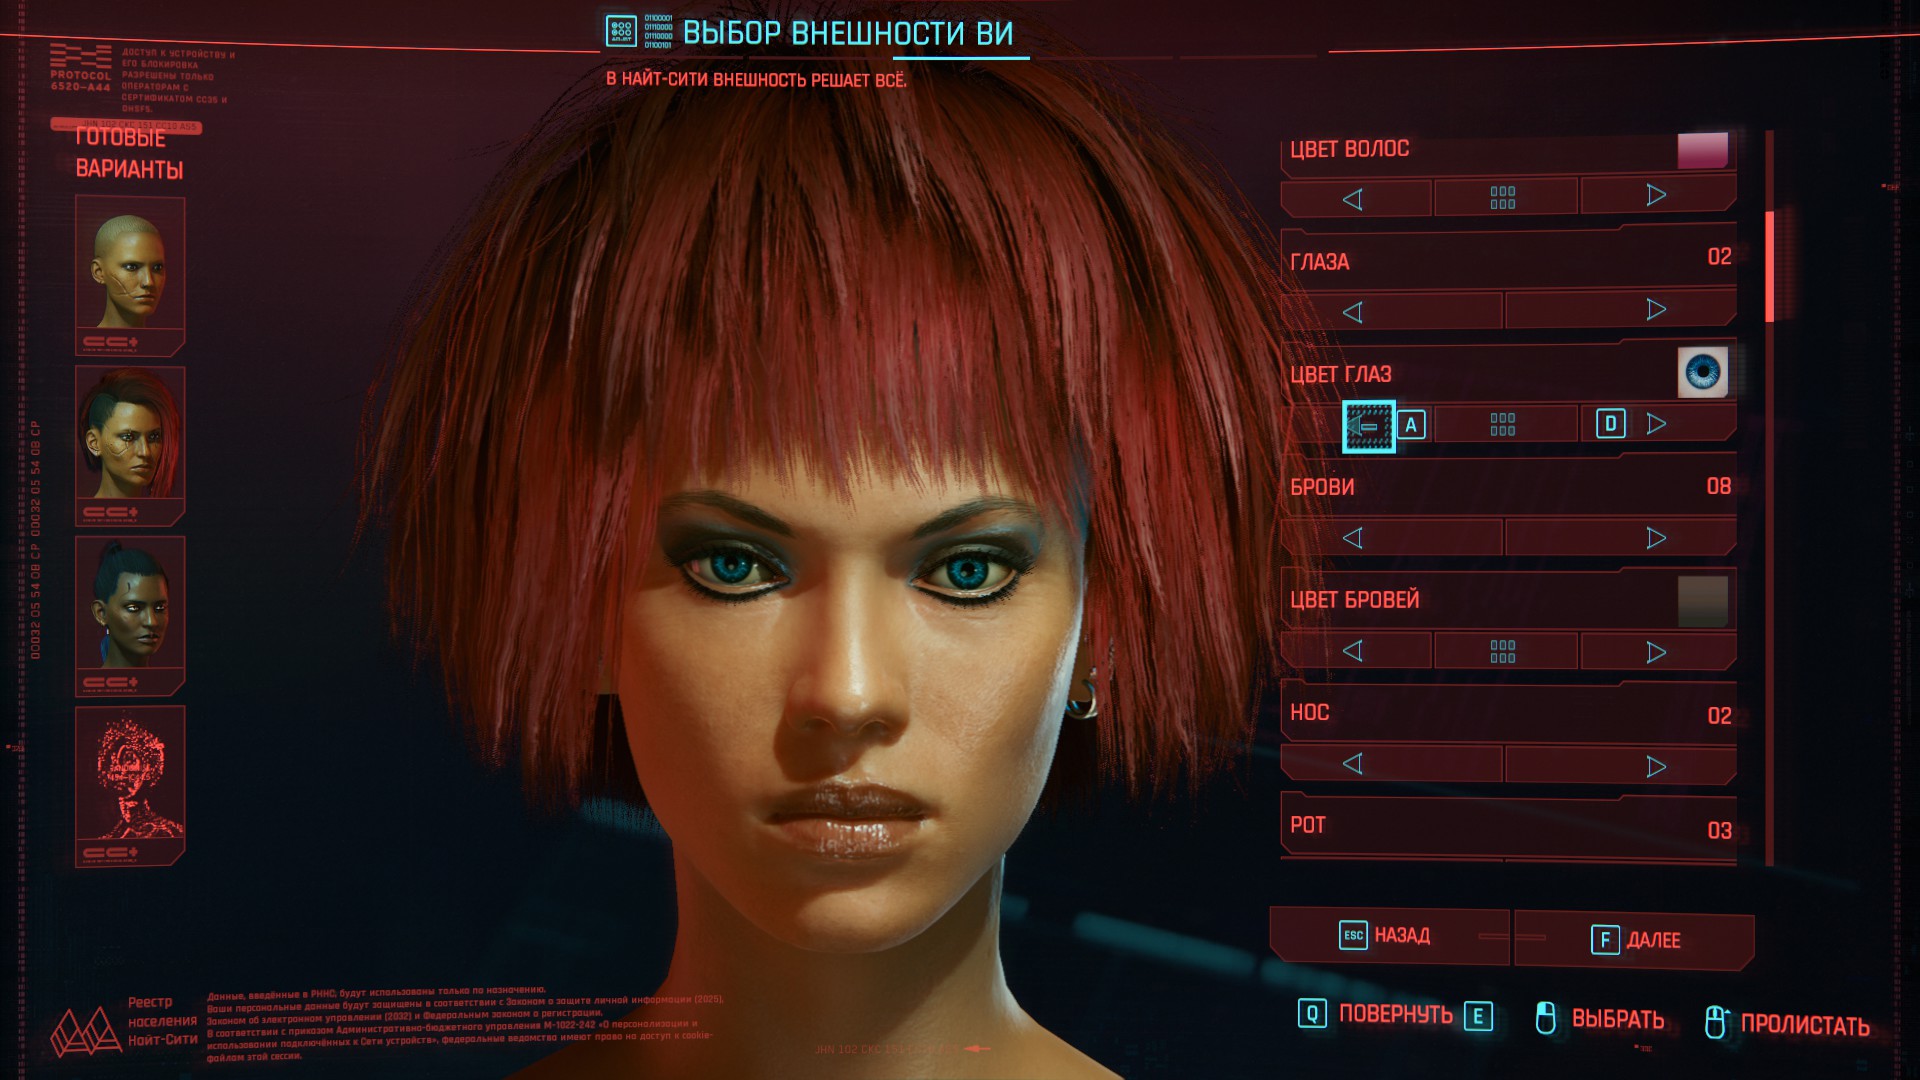 Творческая личность, художница Ви.
- цвет кожи / skin color 06
- тип кожи / skin type 04
- глаза / eyes 02
- брови / eyebrows 08
- нос / nose 02
- рот / lips 03
- челюсть / face shape 03
- уши / ears 15
Cyberpunk 2077 : гайд по фоторежиму
Режим фотосъемки Cyberpunk 2077 можно запустить, нажав клавишу «N» на клавиатуре или одновременно левый и правый джойстики на геймпаде Xbox. После включения вы увидите различные вкладки.
Первый для камеры позволяет выбрать режим от первого лица или дрон (бесплатная камера). Вы также можете выбрать различные предустановки (углы камеры) и настроить угол обзора.
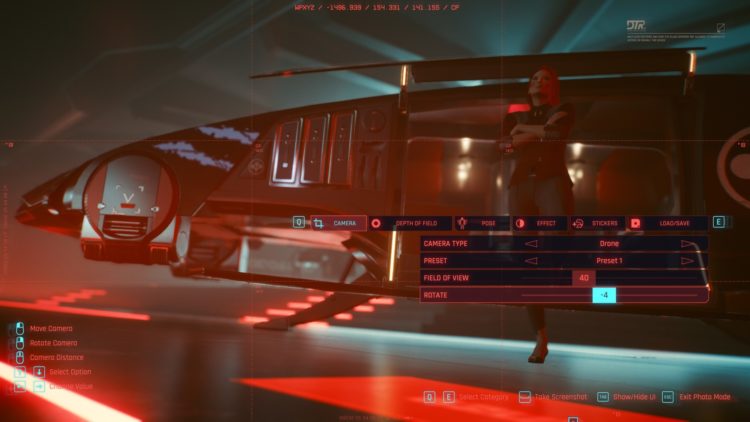
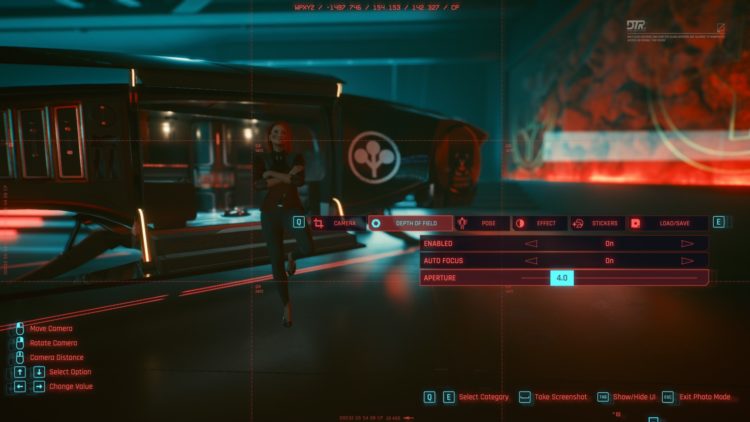
Затем, вкладка глубины резкости (DOF) позволяет вам установить фокус изображения. Это полезно, когда вы хотите сосредоточиться на фоне или удаленных объектах / персонажах.
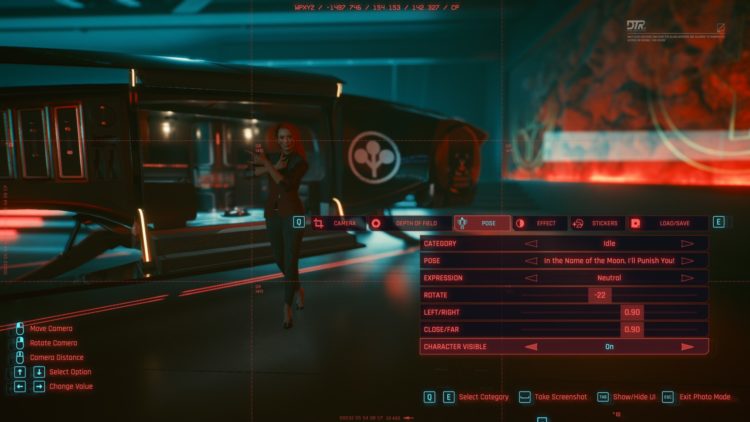
Между тем, панель для поз может быть изюминкой фоторежима Cyberpunk 2077 . Вы можете выбирать из различных поз (некоторые доступны как позы ожидания или действия). Точно так же вы можете установить выражение лица своего персонажа, повернуть его на месте, перемещать по локации и многое другое.
Если вы выбираете позу боевого типа, вы можете увидеть варианты, зависящие от экипированного В. Например, бывают позы, когда у нее есть катана, дробовик, крупнокалиберный пулемет и многое другое.
Между тем, на вкладке эффектов есть множество настроек, связанных с контрастом, виньеткой, эффектами палитры / оттенка и т. Д.
Что касается вкладки стикеров, на ней есть пять мест размещения различных логотипов, которые вы увидите во время игры в Cyberpunk 2077 .
Есть также рамки и фон, которые можно добавить, если вы хотите что-то похожее на постер фильма.
Несколько предостережений
Можно использовать фоторежим Cyberpunk 2077 во время прогулки или во время перестрелки. Но у него есть несколько ограничений.
Если ваш персонаж сидит, активно взаимодействует с человеком или предметом или находится в середине ролика / диалога, тогда доступен только вид от первого лица.
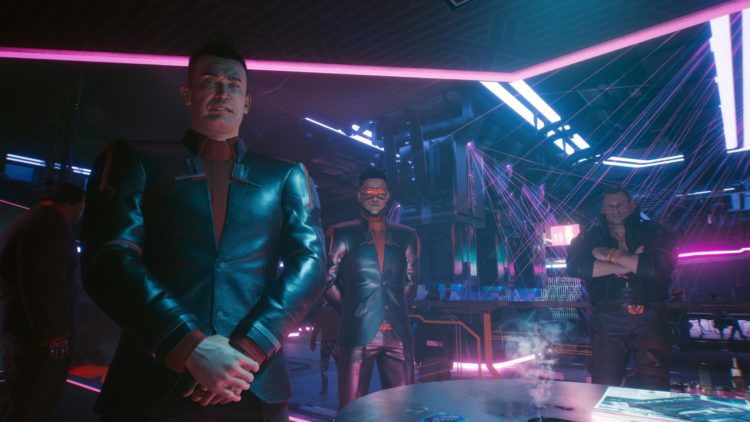
Блокировка от первого лица также применяется, когда ваш персонаж является пассажиром в транспортном средстве. Таким образом, максимум, что вы можете сделать, это перемещать камеру или добавлять стикеры, но большинство других параметров (например, позы) будут недоступны.
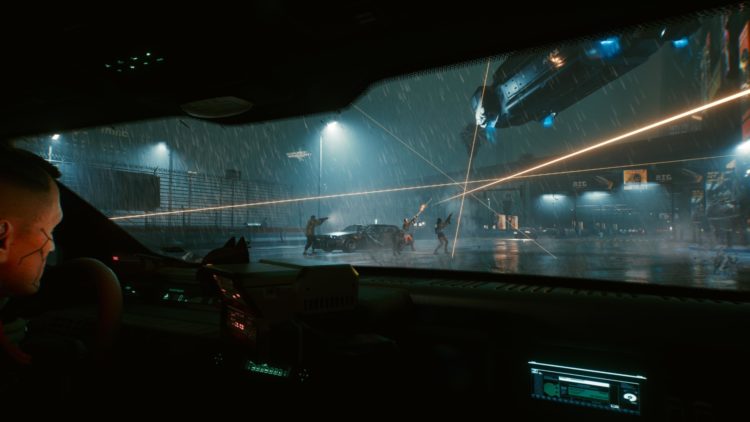
Точно так же могут быть моменты, когда некоторые параметры недоступны, например, во время обучения в стиле VR.
То же самое происходит при использовании имплантатов Cyberware для ваших рук (например, Mantis Blades). Если вы используете камеру дрона, модели не появятся, даже если вы находитесь в середине последовательности атаки.
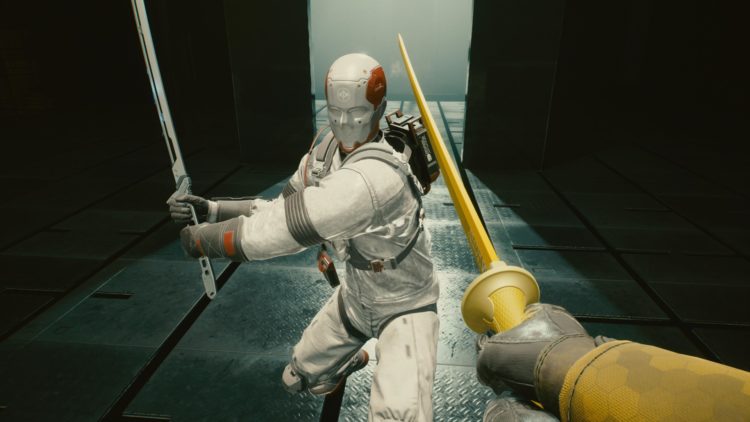
Наконец, поскольку Cyberpunk 2077 полагается на эффект «глючный / взломанный экран» даже для переходов в фоторежиме, вы можете столкнуться с редкими случаями, когда сами NPC будут давать сбои.
Как упоминалось в нашем техническом обзоре, вы можете заметить некоторые бестелесные головы, перекрывающиеся текстуры, плавающие конечности и многое другое. Хотя, честно говоря, я редко сталкивался с этими проблемами.
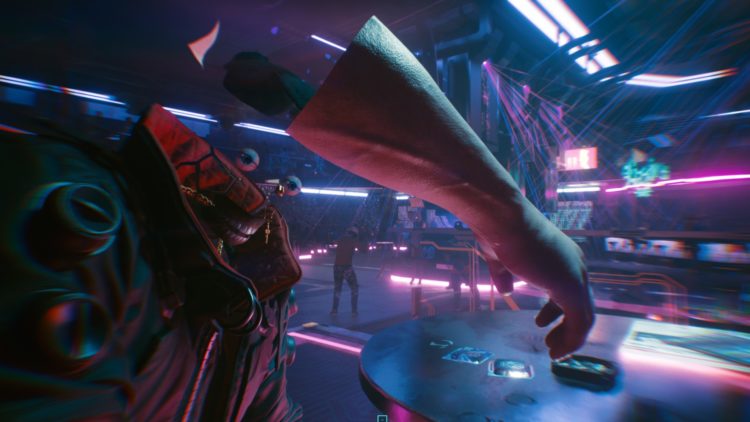
Расположение изображения в фоторежиме Cyberpunk 2077
В любом случае, если вас все устраивает, нажмите пробел, чтобы сохранить изображение PNG. По умолчанию, вы должны найти снимки фото режима Cyberpunk 2077 в разделе Мой компьютер / Этот компьютер -> Изображения -> Cyberpunk 2077 .
Если вы используете Steam и нажмете F12, вы все равно можете получить приличный снимок экрана в формате JPEG (просто не забудьте скрыть пользовательский интерфейс). Однако курсор может появиться. Таким образом, лучше просто нажать пробел, чтобы получить файл PNG.
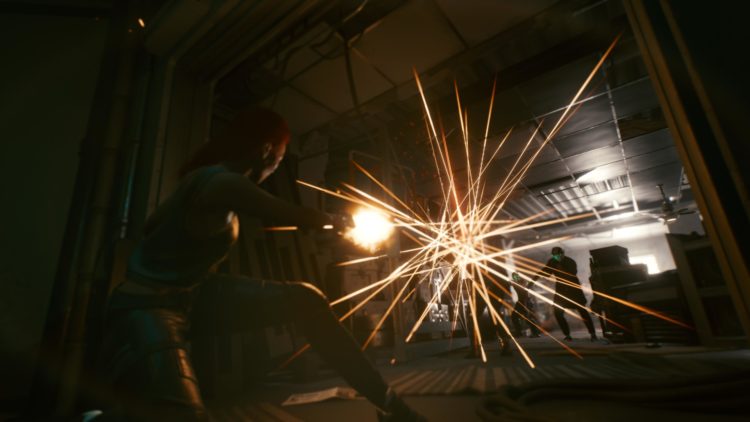
В целом, в Cyberpunk 2077 есть много приятных моментов в фоторежиме . Он полностью встроен, и у вас есть возможность сделать эти изображения такими динамичными и дерзкими, какими вы хотите их видеть. Вам даже не нужны моды или расширители скриптов.
Ночной город визуально захватывает дух, а в фоторежиме удается запечатлеть моменты, которые вызовут у вас трепет. Так что, самурай, разбуди этого дурака и сделай селфи.
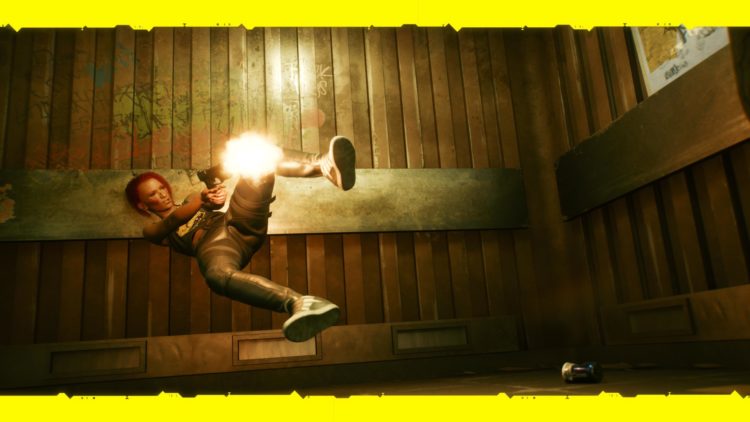
Cyberpunk 2077 доступен на нескольких витринах, таких как GOG и Steam. Для получения дополнительной информации ознакомьтесь со всеми нашими гайдами и советами.
Enhancing Your Photos with Stickers, Frames, and Backgrounds
Incorporating additional elements into your photos can take them to the next level of creativity. Cyberpunk 2077’s photo mode offers a wide array of stickers, frames, and backgrounds to enhance your compositions. Stickers allow you to add unique details, logos, or references to your images. Experiment with frames to add borders and create a more polished look. Backgrounds provide an opportunity to isolate your character and experiment with different lighting setups. From black backgrounds for a sleek and intense portrait to vibrant cyberpunk-themed backgrounds, let your imagination run wild and experiment with different combinations to make your photos truly stand out.
Руководство по фоторежиму Cyberpunk 2077
В трейлере, загруженном разработчиками, видно, что всего шесть вкладок доступны в фоторежиме, и мы подробно рассмотрим каждый из них в этом руководстве по фоторежиму. Cyberpunk 2077. Эти шесть вкладок:
- Камера
- Глубина резкости
- поза
- эффект
- наклейки
- Загрузить / сохранить
Камера
На вкладке камеры имеется четыре параметра, к двум из которых можно получить доступ по мере необходимости. todили фоторежим. Здесь todВот различные доступные варианты:
- Тип камеры
- Предустановка
- Поле зрения
- включить
Глубина резкости
Вкладка «Глубина резкости» позволяет настраивать фокус камеры. На этой вкладке есть три варианта, в том числе:
- Включено
- Автофокус
- Открытие
поза
Это самый важный аспект режима фотографии. Cyberpunk 2077, так как вы можете определить свое изображение прямо здесь, на этой вкладке. Вкладка позы позволяет вам изменить внешний вид вашего персонажа в кадре после включения режима фото.
Как правило, вам нужно сначала привести своего персонажа в идеальную позу, а затем перейти в режим фото. Так обстоит дело с другими играми, но не с Cyberpunk 2077. Эта игра будет позволяет сначала включить режим фото, а затем изменить позу и появление V в кадре с большим количеством доступных опций. Вот девять вариантов, доступных на вкладке Позы.
- Категория
- поза
- вспышка
- Выражение
- Посмотри в камеру
- включить
- Лево право
- Рядом далеко
- Видимый персонаж
Лучшая часть вкладки позы заключается в том, что она позволяет вам выбирать из широкого диапазона вариантов позы. Доверьтесь нам, когда мы говорим, что вы можете найти позу для любой игровой ситуации. Например, в самом трейлере показан сценарий, в котором Ви взрывает цистерну с маслом и позирует со знаком победы. Ну, чтобы немного удовлетворить ваше любопытство, вот некоторые из вариантов презентации, доступных в режиме фото. Cyberpunk 2077.
- Странная поза Ви
- Время селфи
- Запустите драгоценности
- Меня зовут В. Только В.
- Задумчивый философствовать
- Иди сюда, ганкбrain
- В ожидании Годо
- С катаной
- Тупик, приятель
- С ножом
- Во имя Луны я тебя накажу!
- Запустите драгоценности
- Что я могу получить сейчас?
- Поговори с рукой
- Бутерброд с рулькой
Вкладка Эффекты
Вкладка Эффект позволяет переключаться между различными фильтрами и улучшать общее изображение. На этой вкладке доступно семь опций:
- Экспозиция
- Контрастность
- Выделяться
- Пункт списка
- Хроматическая аберрация
- Пшеница
- эффект
Вкладка «Стикеры»
Как следует из названия, эта вкладка позволяет вам наклеивать стикеры на ваше изображение. Он также позволяет изменять рамку и фон изображения. Вы можете добавить до пяти стикеров на одно изображение. На этой вкладке доступны семь опций:
- Наклейка 1
- Наклейка 2
- Наклейка 3
- Наклейка 4
- Наклейка 5
- таблица
- Фон
Загрузить / Сохранить
Это последняя часть фоторежима. После того, как вы закончите настройку и создадите идеальное изображение, это вкладка, на которой вы можете сохранить изображение или загрузить ранее сохраненное изображение.
В любое время в режиме фото вы можете легко показать / скрыть пользовательский интерфейс и делать снимки экрана. Это показывает, насколько легко доступен фоторежим, всего несколько щелчков мышью, и все готово.
Это todдоступной информации о фоторежиме Cyberpunk 2077. Надеюсь, это руководство помогло вам и до встречи в следующем.
Как использовать фоторежим в Cyberpunk 2077
Чтобы активировать фоторежим на ПК, нажмите ‘N’. На консоли одновременно нажмите левый и правый стики. После активации камера повернется, чтобы хорошо рассмотреть потрясающие нити Ви. Появляется подробное меню, а подсказки по управлению зависят от способа ввода данных. При использовании контроллера правый аналоговый стик управляет ориентацией камеры (тангаж и рысканье), а левый аналоговый стик — движением из стороны в сторону, а также вперед и назад. Левый и правый триггеры управляют вертикальным движением. При использовании клавиатуры и мыши мышь управляет всеми движениями. Левый клик перемещает камеру вверх, вниз и из стороны в сторону, правый клик регулирует тангаж и рысканье, а колесико мыши управляет расстоянием. Опции в меню охватывают все — от тонких настроек камеры до совершенно разных фонов. Некоторые опции недоступны, когда Ви сидит или взаимодействует с чем-то. Игроки могут перемещаться по меню для выбора опций и точной настройки снимка по своему усмотрению.
Меню фоторежима
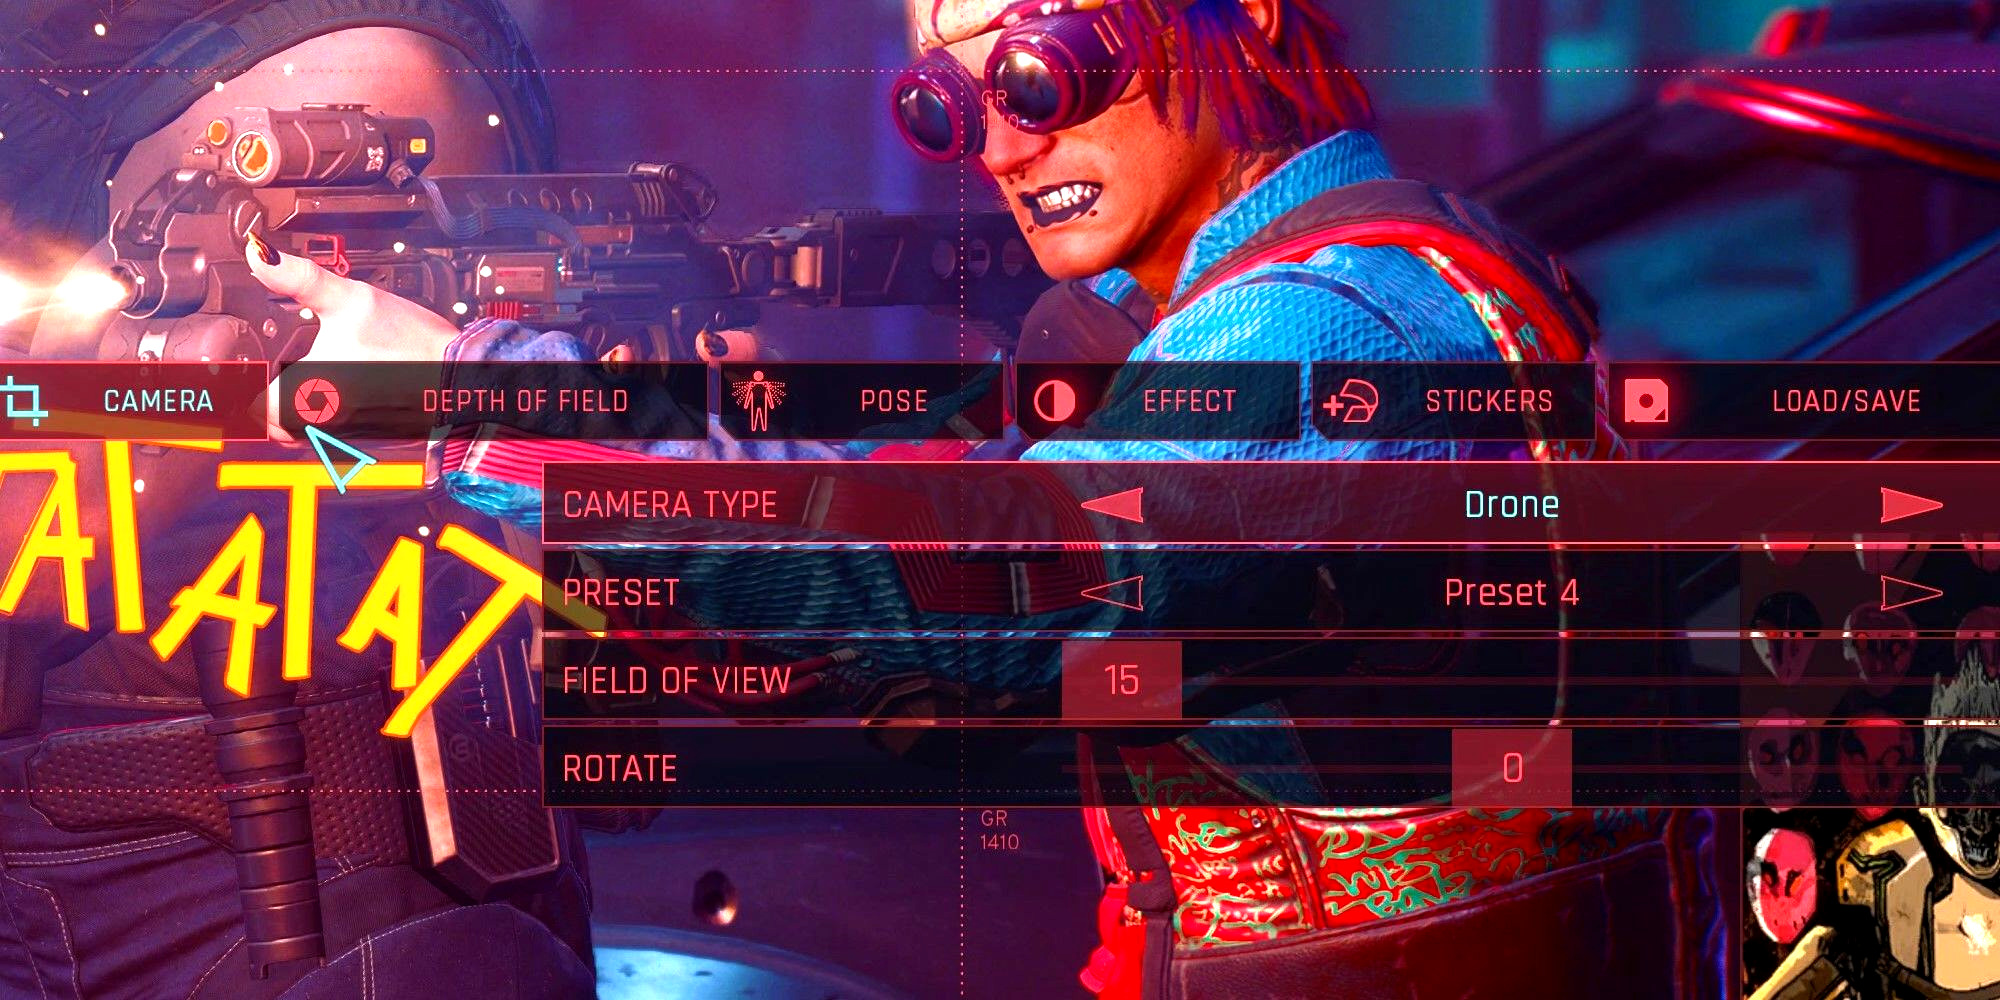
Cyberpunk — одна из немногих игр, в которых есть обширные опции Фоторежима. Ниже представлен обзор вкладок в меню Фоторежима и несколько советов о том, как использовать их по максимуму:
- Камера: Оцените широкий выбор Предустановки доступных для создания быстрых и простых скриншотов. Используйте Поле зрения и Вращение для съемки под нужным углом.
- Глубина резкости: Сохраните Глубина резкости и автофокус включены для наиболее удобного использования, но чтобы захватить больше фона в фокусе, отключите автофокус для точной настройки расстояние фокусировки и Диафрагма.
- Поза: На выбор предлагается множество поз. Есть две категории: Холостой ход и Действие. Каждая из них имеет свой собственный набор вариантов на выбор. Многие позы также имеют свои собственные опции, такие как вспышка на мордеили заставить V повернуться лицом к камере.
- Эффект: На этой вкладке можно добавить или настроить множество полноэкранных эффектов: Экспозиция, Контрастность, Выделениеи многие другие. Сайт Эффект в нижней части поля есть выбор эффектов изменения цвета.
- Стикеры: На выбор предлагается огромный список стикеров, которые можно размещать в любом месте экрана. На этой вкладке игроки также могут выбирать кадры и изменять весь фон сцены.
- Загрузить/Сохранить: Здесь игроки могут получить доступ к сохраненным конфигурациям конкретных кадров. Это, а также Предустановки в Камера особенно полезны для получения идеальных кадров без необходимости каждый раз настраивать все с нуля.
Making the Most of Night City: Tips for Night Photography
Night City is a vibrant, atmospheric setting that comes alive at night, offering unique opportunities for captivating night photography in Cyberpunk 2077’s photo mode. To make the most of this setting, it is essential to understand the potential of neon lights and their ability to dramatically illuminate your subject. Experiment with different types of lighting, from neon signs to muzzle flashes and daylight, to create stunning compositions. Use the environment to your advantage, incorporating textures, architectural elements, and atmospheric lighting to add depth and atmosphere to your photos. Consider the positioning of your character, the direction of light, and the overall color palette to Evoke a specific mood or tell a compelling story.
Capturing Beauty Shots with V in Cyberpunk 2077
Beauty shots allow you to capture the essence of your character and their unique style in Cyberpunk 2077’s photo mode. To create visually striking beauty shots, explore locations such as nightclubs or bars that offer decadent lighting and glamorous environments. Consider outfit choices and accessories that complement your character’s features and personality. Lighting plays a crucial role in beauty shots, so explore neon lights, daylight, or other atmospheric effects to create a flattering and captivating ambiance. Experiment with different poses, expressions, and backgrounds to achieve the desired level of sophistication and appeal in your beauty shots. Let your creativity shine through and use this opportunity to showcase the individuality and Flair of your character.
Pros and Cons of Cyberpunk 2077’s Photo Mode
Like any feature, Cyberpunk 2077’s photo mode has its strengths and weaknesses. On the positive side, the wide array of character movement and position options allows for greater creative freedom in capturing the desired shot. The selection of borders, backgrounds, stickers, and frames provides endless possibilities for customization and personalization. However, the absence of color and filter intensity sliders limits the ability to fine-tune the vibrancy and saturation of the image. Moreover, the limited range of filters can sometimes feel underwhelming. Despite these drawbacks, Cyberpunk 2077’s photo mode is a powerful tool that offers immense potential for capturing stunning virtual photographs.
Tips for Using the Camera in Photo Mode
A well-composed shot can make all the difference in capturing the essence of a scene. In Cyberpunk 2077’s photo mode, mastering camera controls is essential for creating visually compelling photographs. Experiment with different camera types, such as the drone or first-person shooter camera, to find the one that best suits your style. Take AdVantage of the presets available, which provide preset camera positions and perspectives that you might not have considered. The field of view (FOV) setting allows you to adjust the zoom level, providing greater control over the composition. Additionally, the rotation feature is perfect for adding dynamism and a unique perspective to your shots, especially during action-packed moments.
Taking a photo
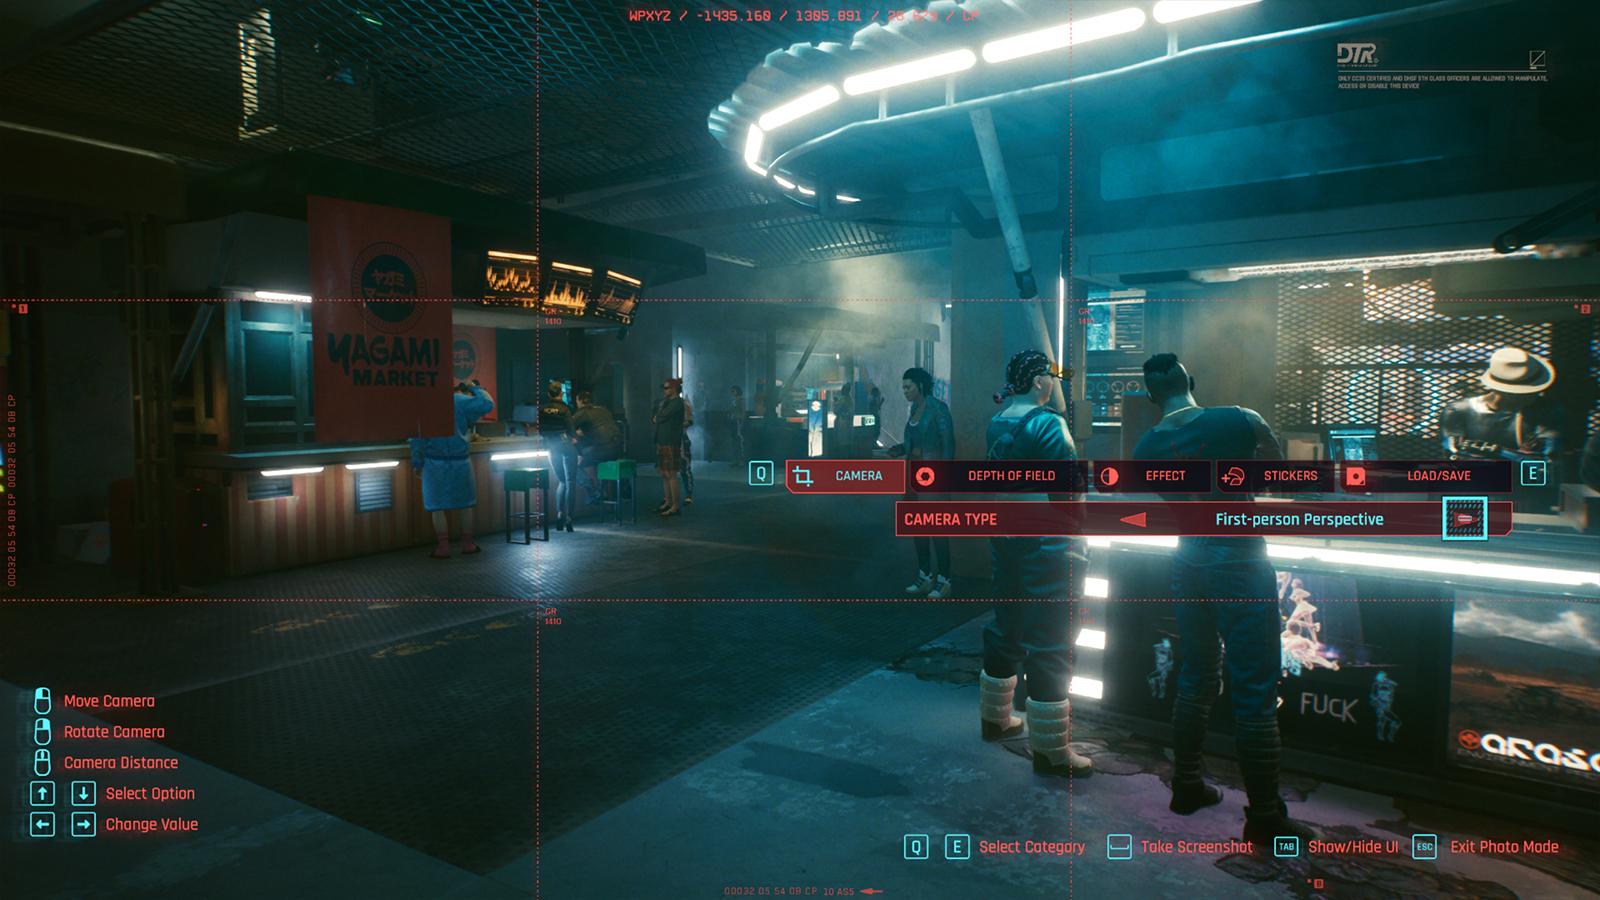 You’re able to use a drone to capture your images, or you can stick to V’s viewpoint.
If you’re looking to take a quick screenshot of the action that V is seeing, switch your camera type to ‘First-person Perspective’, or keep it at ‘Drone’ for more control over the scene and how things look. Drone mode allows you to fly around the scene to set up a shot, whereas only color grading, depth of field, and stickers are available for V’s view.
To take a photo, all you have to do is press Space on keyboard, X for an Xbox controller, or Square with a PlayStation one.
Launching photo mode and taking a photo is that easy. But many of us will want to take that one step further. Here’s how:
David Martinez’s Clothing Outfit
This section concerns only the visual appearance of your character. Thanks to the newly released Wardrobe feature in Cyberpunk 2077, you can transmog your gear and have one set of clothing to make you look cool and another set to provide stats for your build. The build-related clothing I have explained in a separate section further below in this guide.
Besides David’s Jacket, you are at the mercy of RNG for the rest of his clothing pieces, and just like with the character creator, you’ll have to make some major concessions. All shops cycle their available clothing every 24 hours, so you’ll have to keep skipping a day ahead to see if that shop has the available clothing in stock.
Outer Torso – Jacket
David’s Jacket is the only piece of his wardrobe that was added directly to the game. The yellow jacket was too unique for anyone to try and replicate, so to make things easier CD Projekt Red just added it to the game.
You receive it as part of a reward for a new mission that was added with update 1.6. Check out our dedicated guide on how to obtain and complete this mission and receive David’s Jacket.
Inner Torso – shirt
David Martinez wears a black shirt and a necklace with a cross, we can replicate the former, but not the latter. In the later episodes, he has no shirt, so his shiny chrome could shine.
Since it’s not easy to find a full black short-sleeved shirt in the game, my personal favorite is the GOG Galaxy promo t-shirt.
I’ll leave you to find the best match. If you do, and want to share it with all of us, please leave a comment under this guide.
Pants
David wears long, blueish gray pants that bunch up at the bottom. It’s difficult to get all of those traits in a single pair of pants, but I recommend the Caution Extra-Plastic Cargo Pants, which can be found at the clothing vendors in Charter Hill and Arroyo.
I could not find a proper pair of pants that at least remind me of the pants David wears throughout the show, so I leave that to you if you want the challenge.
Feet
I could not find anything at all in the game that looks even remotely close to what David wears on his feet. Not the teenager David, nor the bulked-up one-year older David. Entirely up to you.
Примеры
Камера
Глубина резкости
Поза
Эффект
Стикеры
Предустановка 4
По умолчанию
Категория: Действие
Контрастность: 10
4 Наклейки
Поворот 5
Поза: Осторожно, это ограбление!
Основные моменты: 50
Рамка: 49
Дульная вспышка: включена
Эффект: 9
Выражение: Ярость
| Камера | Глубина резкости | Поза | Эффект | Стикеры |
|---|---|---|---|---|
| По умолчанию | По умолчанию | Категория: Действие | По умолчанию | 8 наклеек |
| Поза: Держи мое пиво | Рамка: 37 | |||
| Фон: 7 |
| Камера | Глубина резкости | Поза | Эффект | Стикеры |
|---|---|---|---|---|
| П/П | Выключено | Н/Д | Экспозиция: 20 | 3 наклейки |
| Контрастность: 15 | Рамка: 1 | |||
| Основные моменты: 50 |
Киберпанк 2077 доступна для PC, PS4, PS5, Xbox One и Xbox Series X/S.
Overview
В Киберпанке отличный редактор персонажа, а вместе с фоторежимом и красивым героем игра – это и площадка для создания уникальных скриншотов ваших героев. Я сделала несколько вариантов внешности Ви мужского и женского пола с указанием номеров параметров. Среди них есть и знаменитости, и обычные персонажи. Выбирайте любого и играйте в удовольствие!I made 20 male & female faces to help you in creating your hero. Enjoy!Это руководство я буду дополнять новыми лицами героев Ви, если найду интересный вариант и создам его в редакторе персонажа. Так что заглядывайте иногда за обновочками))I will add some more male & female faces here from time to time, so come and see what’s new))
